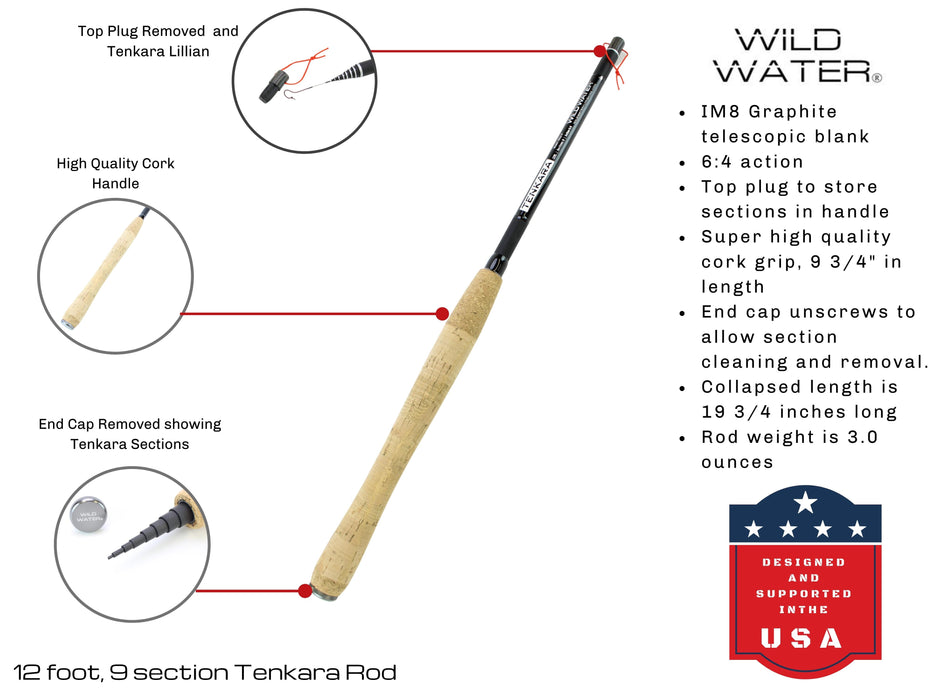
Setting up a fly fishing outfit for the first time takes about 10 minutes. You connect the rod sections, mount the reel, set the retrieve direction, thread the fly line (the thick, weighted line that carries your fly through the air when you cast) through the guides, and check everything before you step into the water.
Wild Water built these kits so a beginner can do all of this solo, without prior experience. This guide walks you through each step in that same order. By the time you finish reading, you'll know exactly what to do when your kit arrives on the doorstep.
What Comes in a Fly Fishing Outfit?
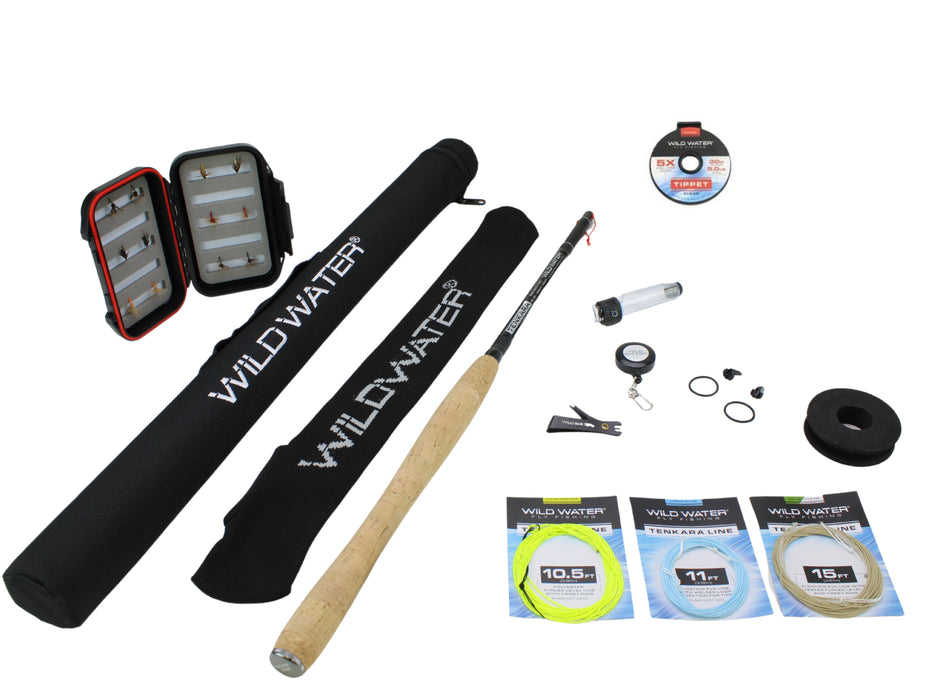
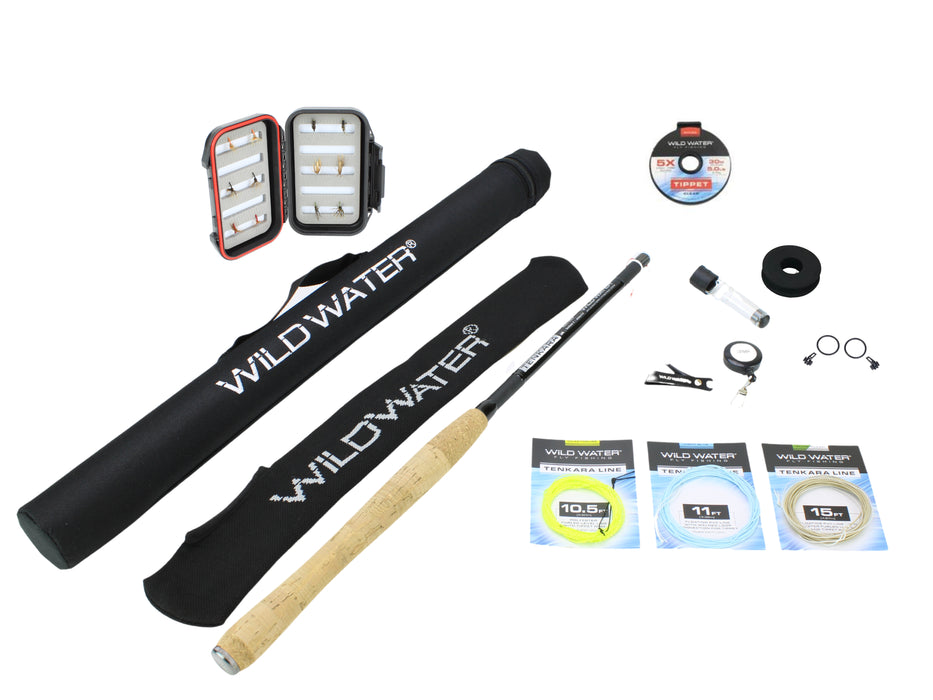
A standard fly fishing outfit has five main components you need to identify before assembly.
|
Part |
What It Is |
|
Fly Rod |
The long, flexible pole you cast with. Wild Water rods come in multiple sections that connect together. |
|
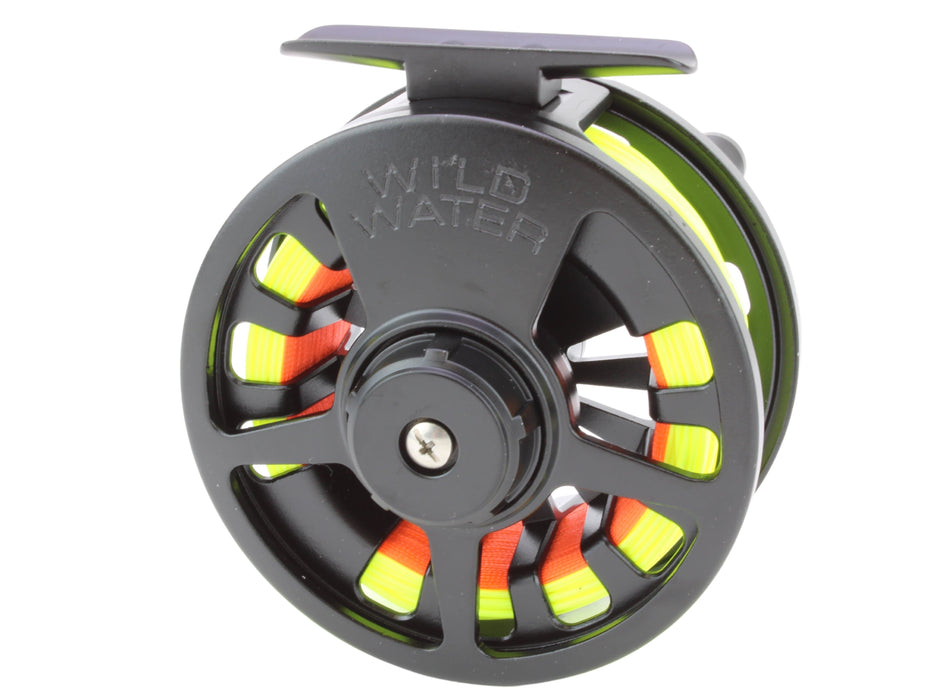
Fly Reel |
The round spool that holds your fly line. It mounts to the bottom of the rod handle. |
|
Fly Line |
The thick, weight-forward line that loads the rod when you cast. It's already spooled onto your reel in most Wild Water packages. |
|
Leader |
A clear tapered line that connects the fly line to your fly. It helps the fly land softly on the water. The difference between a leader and tippet matters more as you advance, but for setup purposes the leader is what comes with your kit. |
|
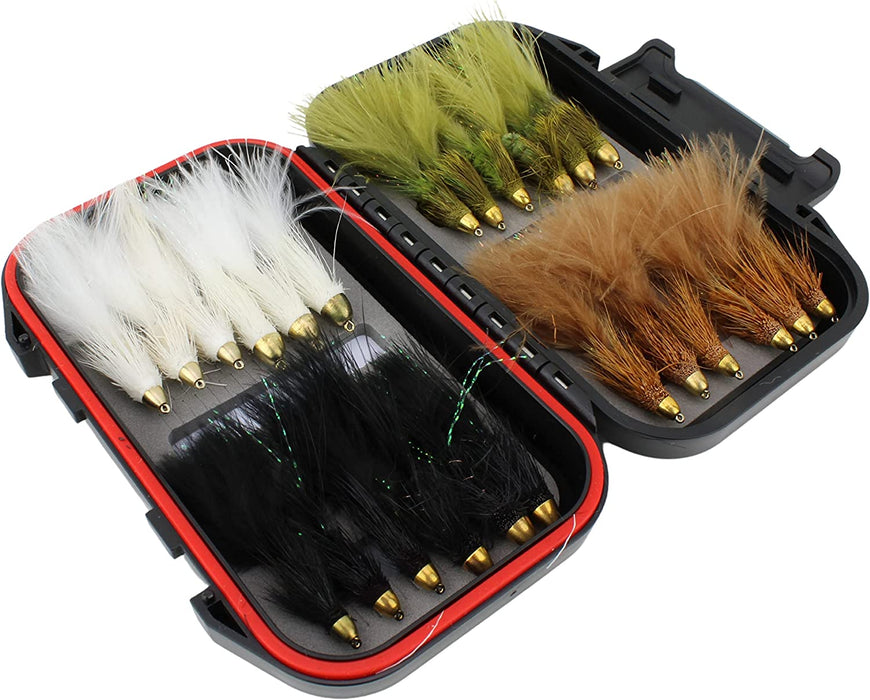
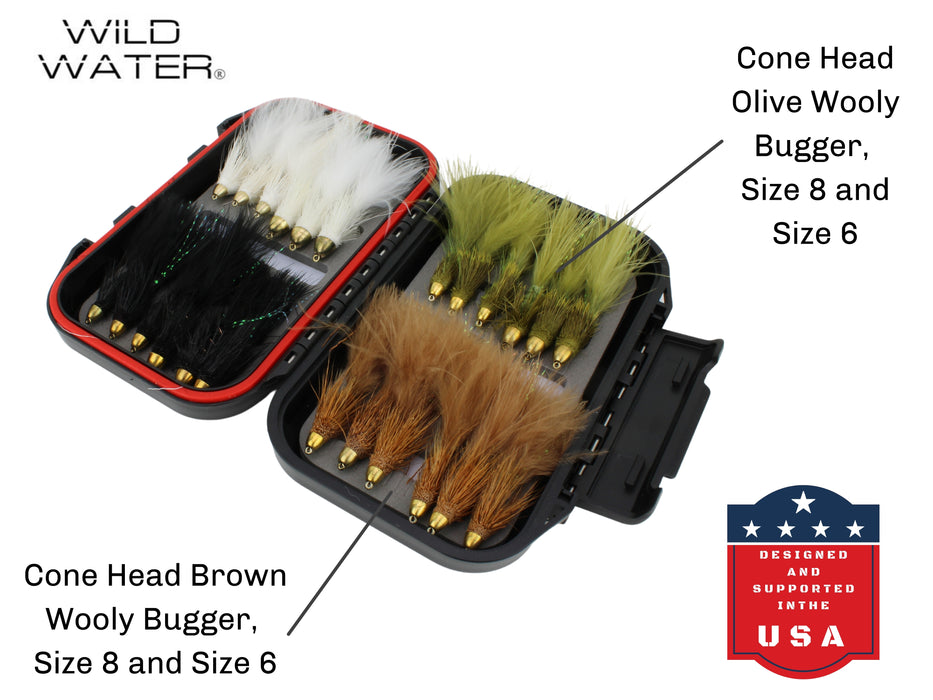
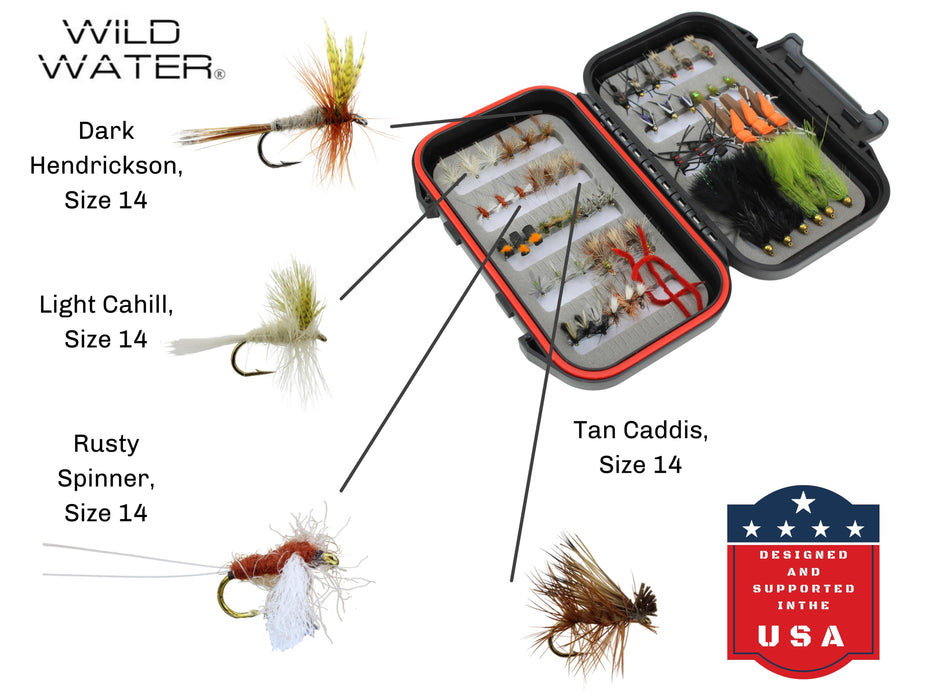
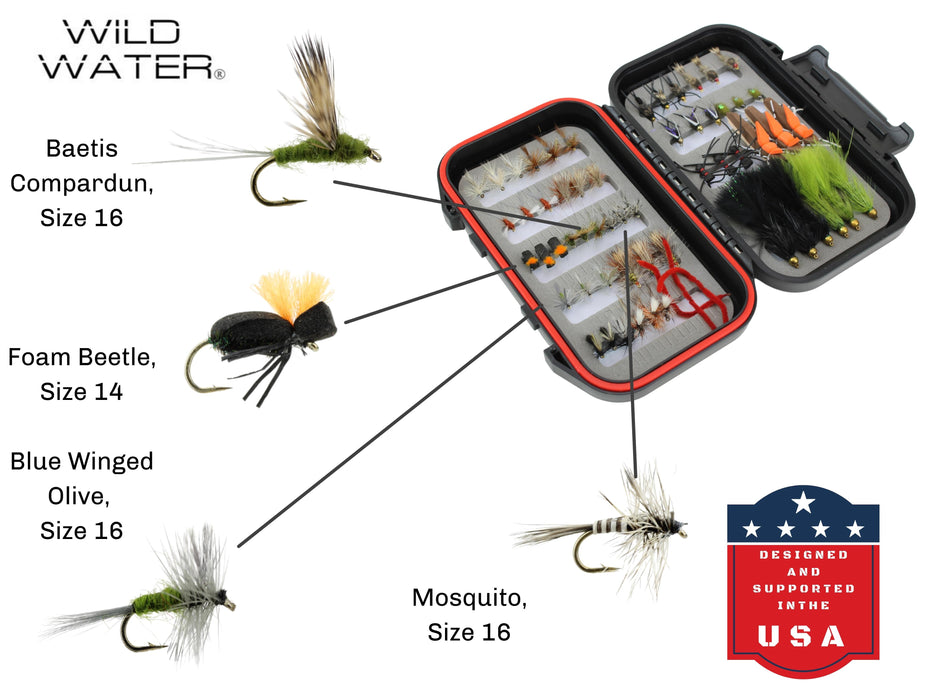
Fly |
The lightweight lure designed to imitate insects or baitfish. |
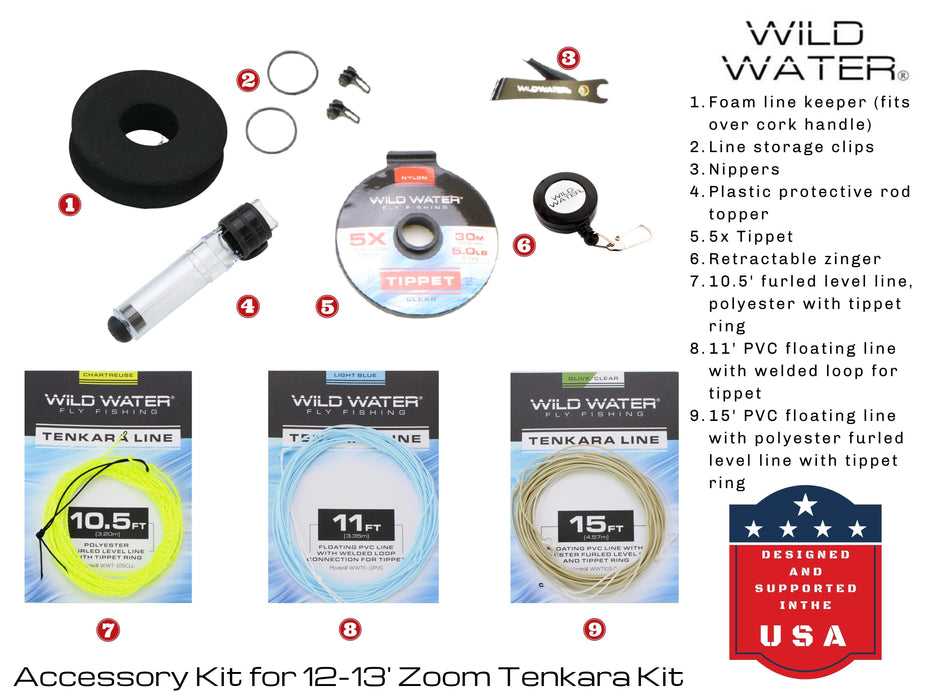
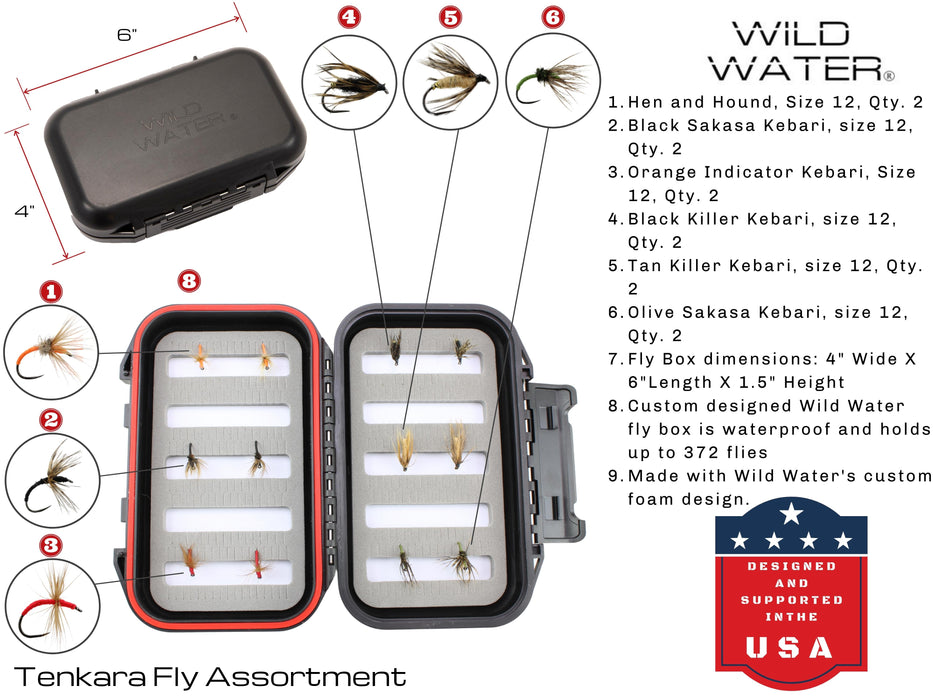
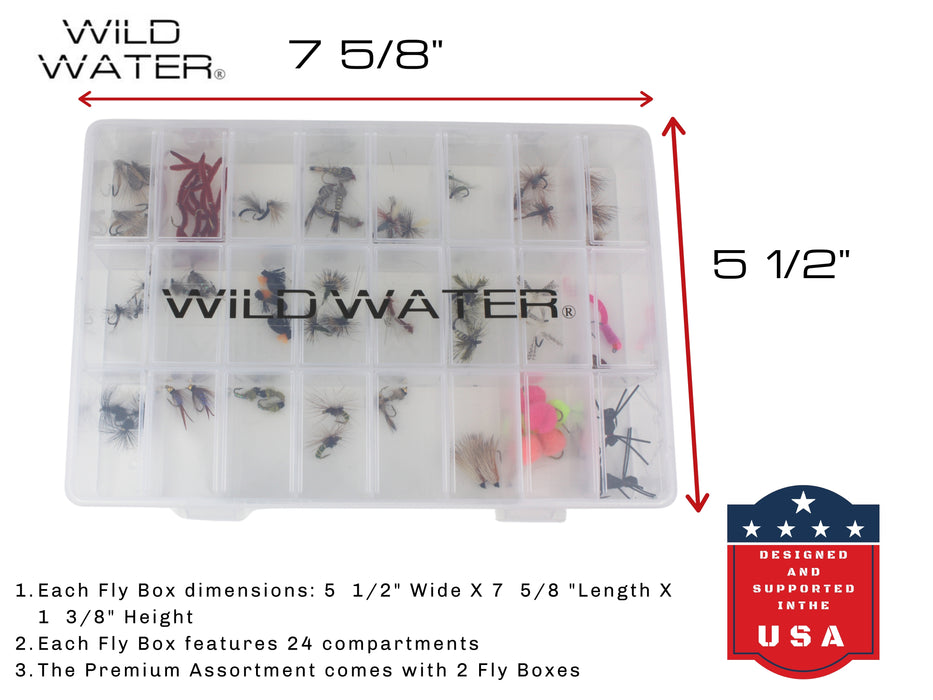
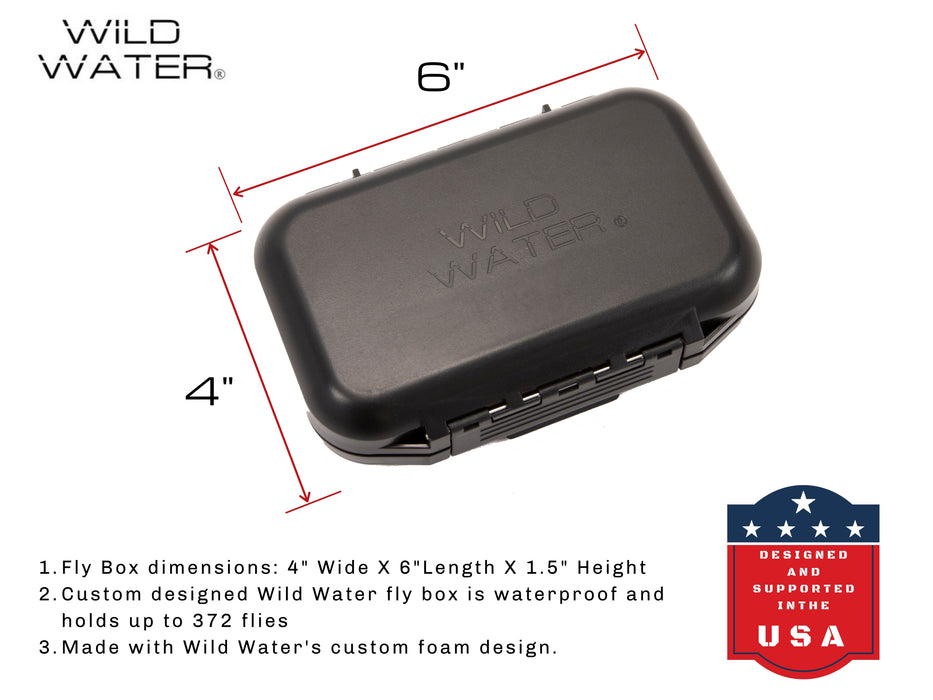
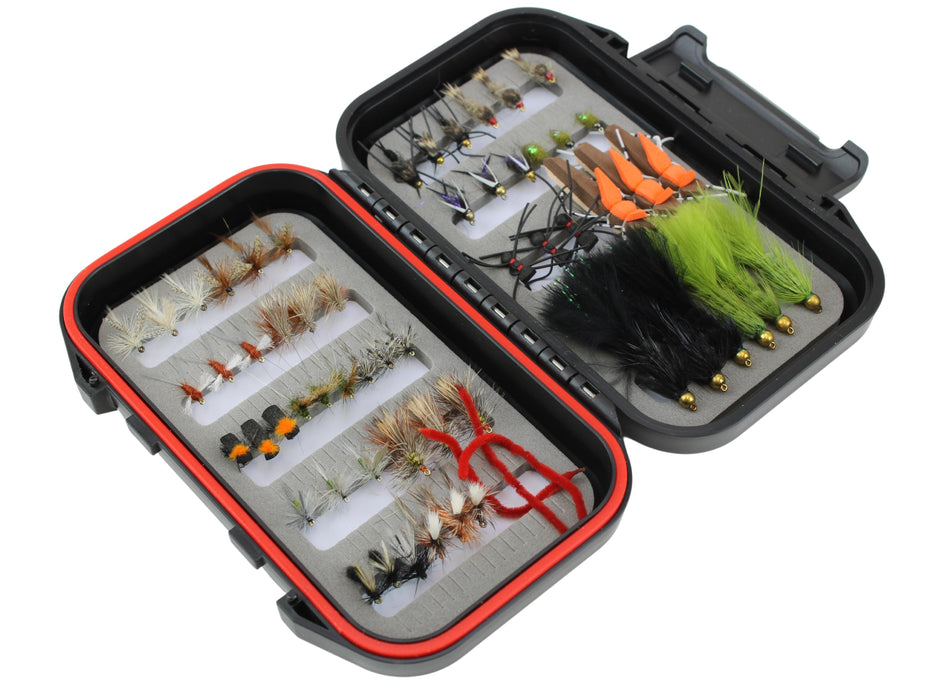
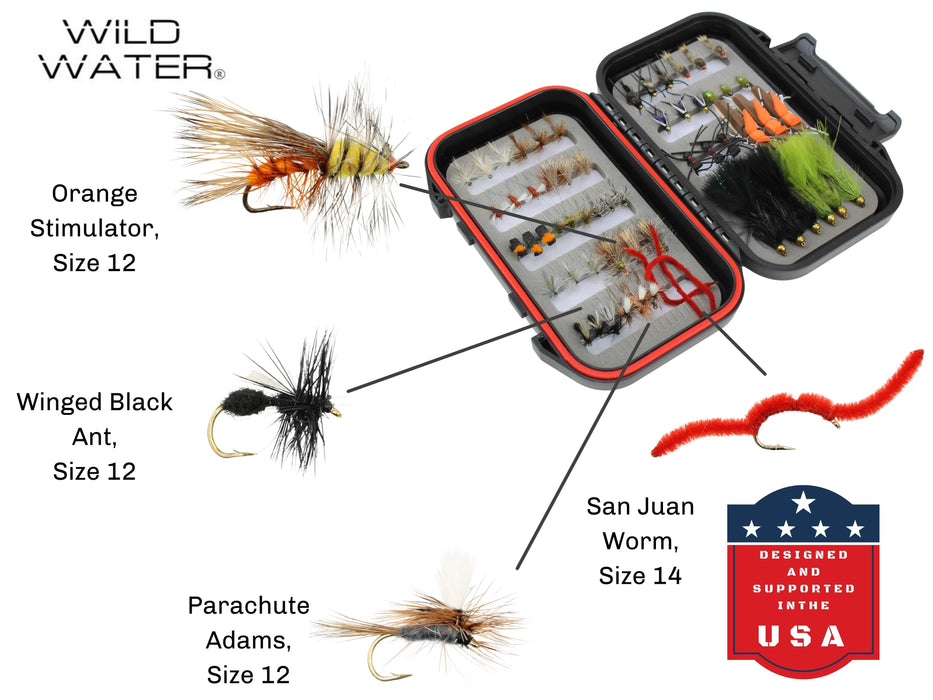
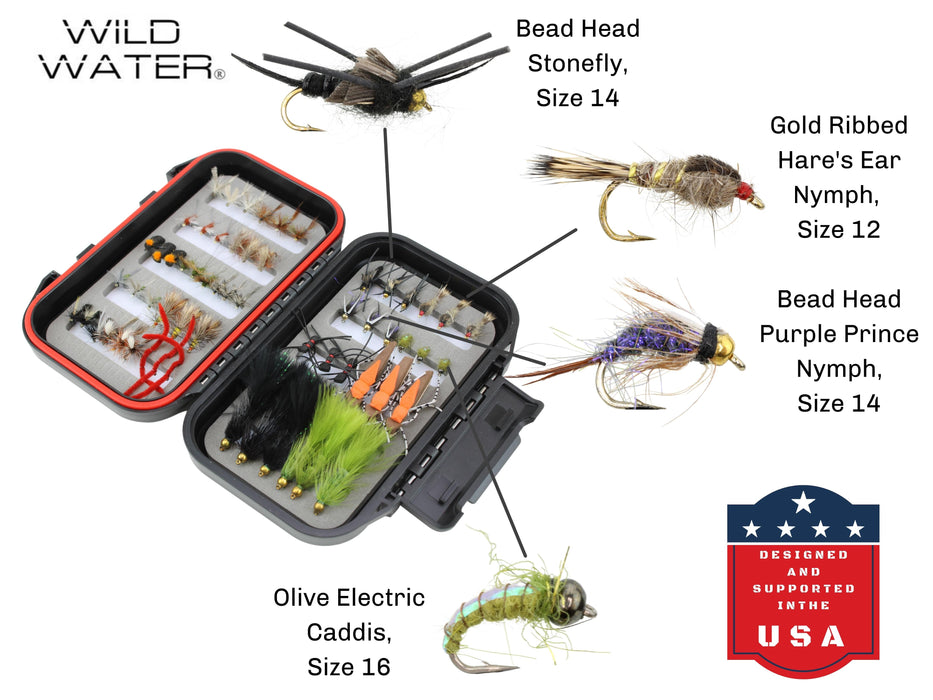
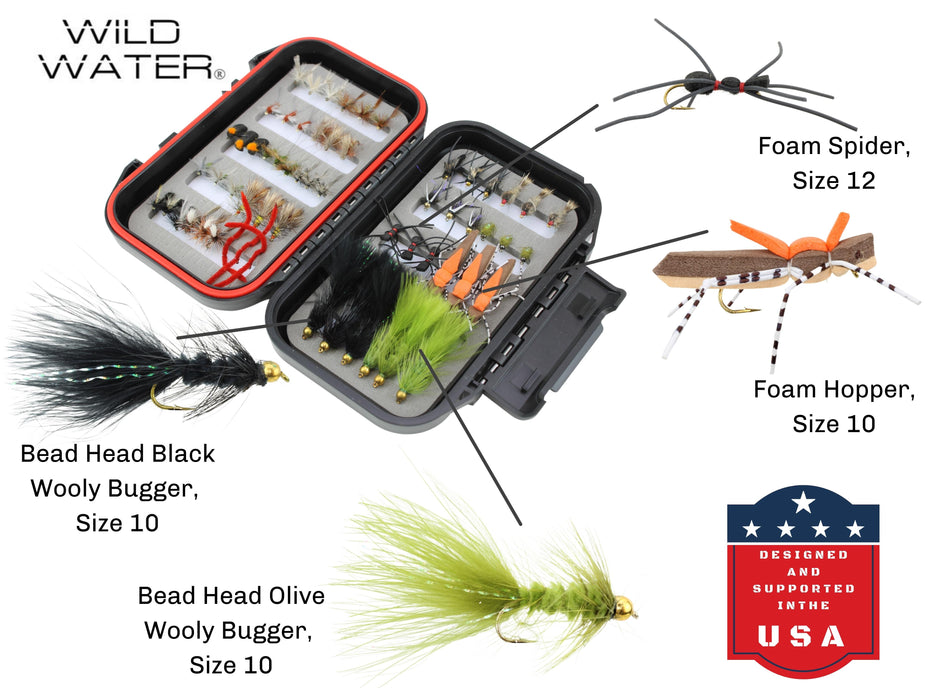
Take everything out of the package and lay it on a flat surface before you start. You'll also find a fly box, a line clipper, and other small accessories depending on your package. Set the fly box and accessories aside for now. Focus on the rod, reel, and line first.
The parts of a fly rod and parts of a fly reel pages go deeper into what each component does if you want the full breakdown before you start.
How Do You Assemble the Fly Rod?
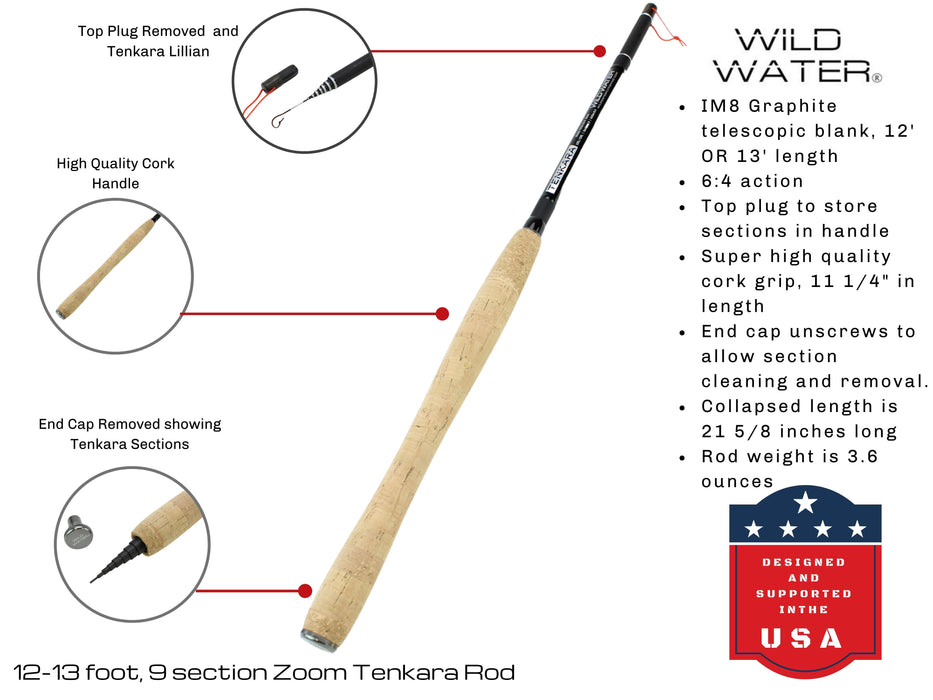
Before you start connecting anything, shake the rod tube and confirm all sections are present. A standard Wild Water fly rod comes in four sections. Lay the four rod sections out in order from handle to tip on a flat surface, not a gravel driveway. A table, a patch of grass, or the carpet inside all work fine. (Most beginners want to rush rod assembly. Take 60 seconds here. Finding out you're missing the tip section at the water's edge is a frustrating way to start a fishing trip.)
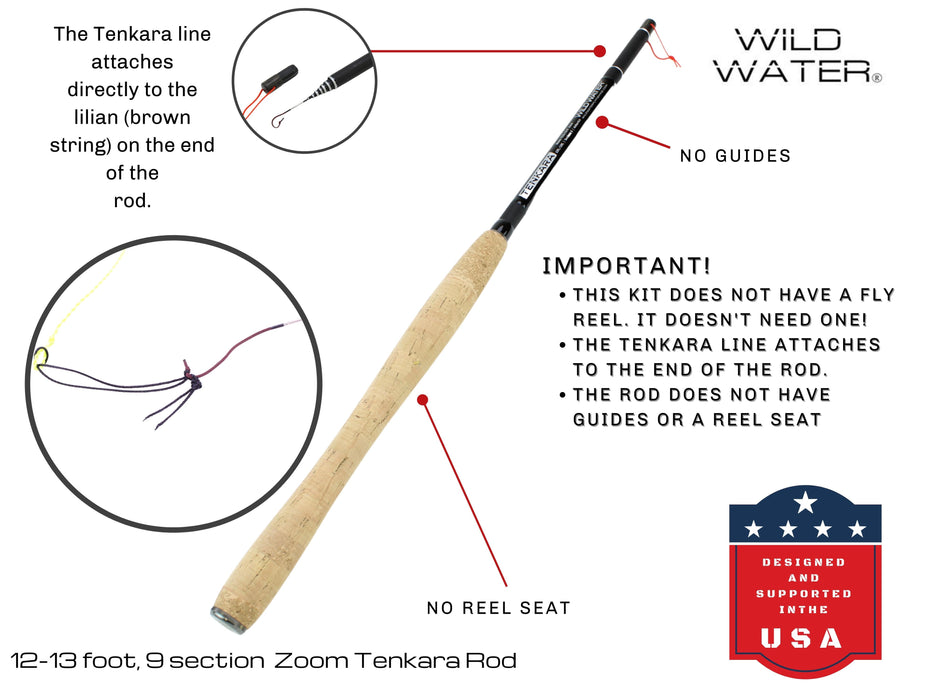
Each connection point is called a ferrule (the joint where two rod sections slide together). The small rings that run along the length of the rod are the guides. Your fly line will thread through all of the guides later.
- Start with the two bottom sections (handle section and the one just above it). Align the guides so they form a straight line along the rod.
- Slide the sections together firmly at the ferrule joint. You want a snug connection, not a loose one.
- Add the next section up the same way. Keep the guides aligned as you go.
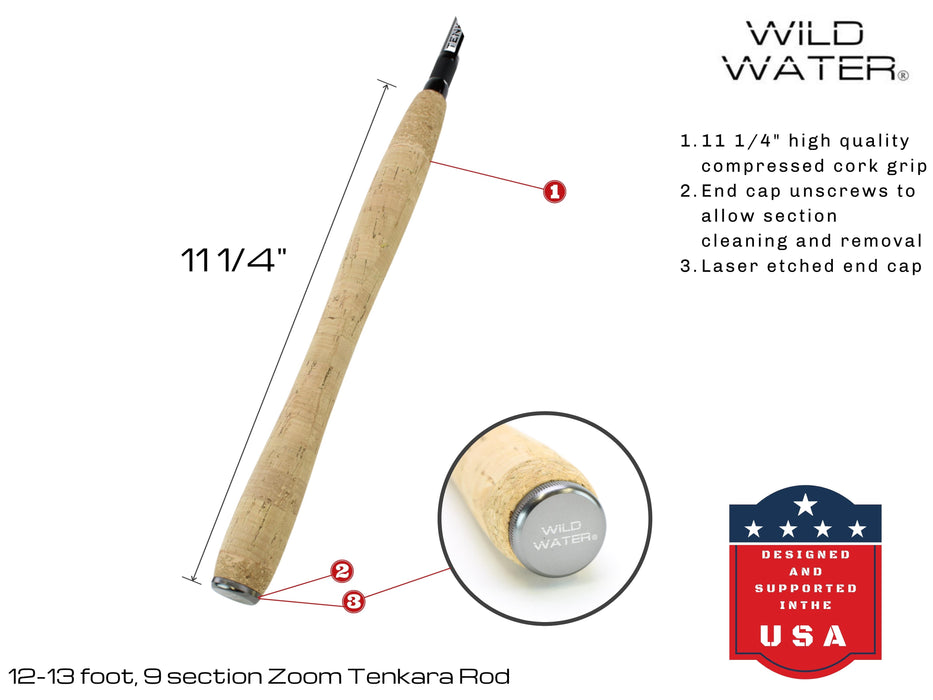
- Attach the tip section last. The tip is the most fragile part of the fly rod and the most expensive to replace. Seat it gently but firmly.
- Step back and look down the rod from the handle end. The guides should form a straight line from top to bottom.
The Wild Water rod assembly guide includes photos and covers the most common first-timer mistakes in more detail.
How Do You Attach the Fly Reel to the Rod?
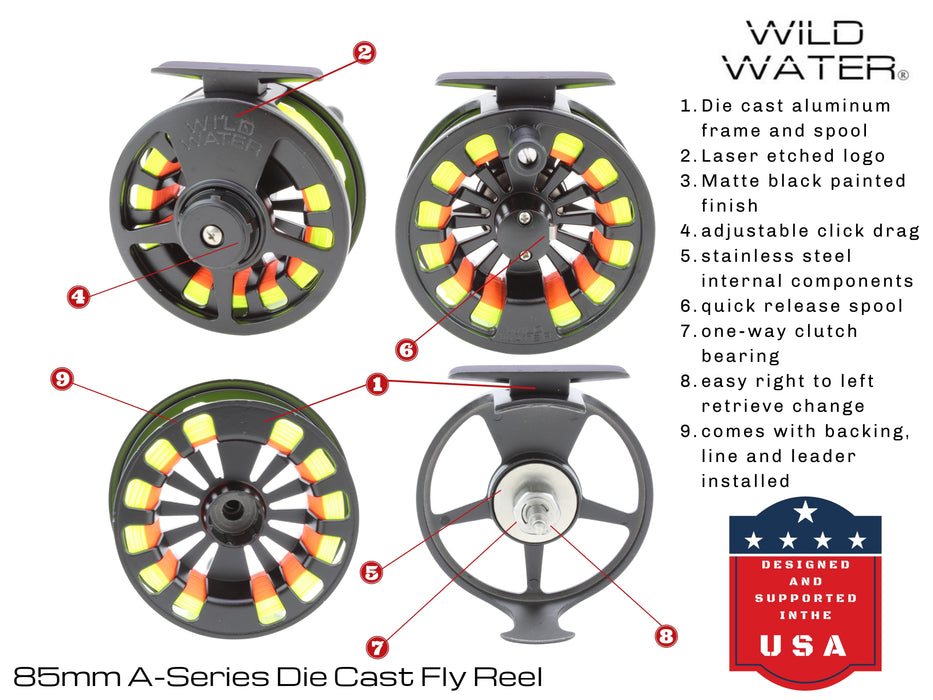
The reel mounts at the base of the handle in the reel seat (the fitting at the rod's base that locks the reel in place). On Wild Water rods, the reel seat has threaded rings that tighten around the reel foot to hold it secure. If you want a visual reference for your specific model before you start, the Wild Water reel assembly diagrams show each reel type with its components labeled.
- Hold the rod handle with the guides facing up.
- Slide the reel foot into the reel seat so the reel hangs below the guides.
- Thread the locking ring up and over the reel foot until the locking ring sits snug.
- Tighten the second ring down to lock the reel in place. Hand-tight is enough. You don't need tools.
- Give the reel a gentle tug. The reel should not rotate or slide.
The fly reel attachment page covers the common attachment mistakes beginners make, including what happens when the reel foot isn't fully seated.
How Do You Set the Retrieve Direction?
Most beginners skip the retrieve direction step, which causes confusion at the water. Retrieve direction refers to which way the reel handle turns when you pull in line. Most fly fishers retrieve with their non-dominant hand so they can keep their casting hand on the rod the whole time.
|
Your Casting Hand |
Set Retrieve To |
|
Right hand |
Left-hand retrieve |
|
Left hand |
Right-hand retrieve |
Wild Water reels ship set to right-hand retrieve by default. Switching directions takes about seven minutes total: two minutes for the mechanical change with a small screwdriver, plus another five to re-spool the line in the new direction. The step-by-step process for switching your reel from right to left-hand retrieve walks through each reel type with photos.
(If your reel is a different model, find the matching tutorial in Wild Water's full reel retrieve playlist.)
The retrieve direction guide includes model-specific steps for every reel in the Wild Water lineup.
How Do You Thread the Fly Line Through the Guides?
Threading the fly line trips up most beginners because fly line is thick and stiff fresh off the spool. The trick is to fold the fly line back on itself before threading the loop through the guides. Folding creates a doubled loop at the end that pushes through each guide cleanly instead of catching on the edge.
- Pull about three feet of fly line off the reel.
- Fold that section back to create a doubled loop at the end.
- Start at the guide closest to the reel (the stripping guide, which is the largest one) and push the loop through.
- Work toward the tip, threading through each guide in order.
- Once the loop clears the tip guide, pull several feet of fly line through so you have some to work with.
- If your leader isn't already attached, connect the fly line to the leader using a clinch knot. Most Wild Water packages include a pre-rigged leader already looped to the fly line, so this step is usually done for you.

Double-check that you haven't missed a guide. One skipped guide won't ruin your cast right away, but a skipped guide puts extra stress on the rod and affects line control.
Quick Readiness Check Before You Fish
Before you walk to the water, run through this list. The check takes less than a minute.
|
Check |
What to Look For |
|
Rod sections fully seated |
No gaps or looseness at the ferrule joints |
|
Guides aligned |
Looking down the rod from handle to tip, they form a straight line |
|
Reel seated and locked |
No rotation or movement when you pull on it |
|
Retrieve direction confirmed |
Handle turns the right way for your casting hand |
|
Fly line through all guides |
Every guide has line running through it, including the tip |
|
Leader attached and straight |
No tangles or loose connections at the fly line junction |
If all six check out, you're ready to fish.
How Do You Disassemble and Store Your Fly Fishing Outfit?
Breaking the rod down correctly after fishing extends the life of your outfit significantly. The biggest enemy of fly rods is transport in a partially assembled state. A fly rod transported with sections still connected stresses the ferrules. That repeated stress eventually causes permanent damage.
- Reel in all your fly line before you do anything else.
- Remove the fly from the leader and store the fly in your fly box.
- Starting from the tip, pull each rod section apart with a firm, straight pull. Avoid twisting.
- Loosen the reel seat rings and slide the reel off the rod.
- Wipe each rod section dry with a cloth, especially if you were fishing in saltwater or muddy water.
- Place the sections in the rod tube in the same order you removed them, handle end first.
- Store the reel in its pouch or a safe spot where it won't get scratched.
Wild Water fly rods come with a lifetime warranty that covers anything that happens to the rod, no questions asked. Proper storage keeps that warranty from ever becoming necessary. The full disassembly and storage guide covers post-trip care in more depth, including tips for long-term storage between seasons.
Beginner Fly Fishing Setup FAQ
Should the fly reel already have line on it when I get my kit?
Yes. Wild Water starter packages come with fly line pre-spooled on the reel. You don't need to add backing or wind on new line before your first trip. Pull the rod out, attach the reel, and start setup.
Does fly line have a front and a back end? Does it matter which way I spool it?
Yes, it matters. Fly line is directional. The end with the welded loop connects to the leader. The plain end connects to the backing on the reel. Wild Water packages come with the line spooled correctly. If you ever re-spool, the Wild Water fly line specification chart shows the profile for each line so you can confirm the correct orientation before winding.
Can I switch retrieve direction after I've already fished with it?
Yes. Switch the reel mechanism first, then re-spool the fly line in the opposite direction. The mechanical switch takes about two minutes. Re-spooling the fly line adds another five minutes. Complete both steps at home the night before your next trip and you'll head out ready to fish.
What if a rod section feels stuck when I try to take it apart?
Grip the rod firmly on both sides of the stuck joint with your hands, not on the guides. Pull straight apart with steady pressure. Do not twist. A rubber jar-grip pad helps if your hands slip. Pulling straight is almost always enough to free the stuck section. If sections stick regularly, the common fly fishing problems guide covers stuck ferrules and other field fixes in one place.
How tight should the rod sections be at the ferrule joints? Can you push them in too far?
Push each section in until the section seats firmly with no wobble or gap. Hand pressure is enough. Loose sections let the guides shift out of alignment. Over-forced sections stick and resist coming apart later. If sections feel gritty going together, wipe the ferrule ends clean before connecting the sections.
What if I skip a guide when threading the fly line?
Reel the line back in and start threading again from the stripping guide, the largest guide closest to the reel. Work toward the tip and check each guide as you go. Threading takes less than two minutes. Fishing with a skipped guide puts unnecessary stress on the rod.
You're Ready to Fish
Your fly fishing outfit is ready. The Complete Beginner's Guide to Fly Fishing covers casting technique, water reading, and fly selection for your first trip.
Before you head out, the beginner's packing checklist covers everything else you need to bring alongside your outfit, from licenses to polarized sunglasses.
The Wild Water Starter Package Selection Table helps you match rod weight to your target fish and local water.
Every Wild Water kit comes built for this moment. A family at the water's edge, a rod in hand, ready to make the first cast. That's the whole point.