Replace your fly fishing leader every day or two on the water and your tippet every 2-4 hours of active fishing. That might sound like a lot, but here's the thing: worn leader and tippet are the weakest links between you and that trout you've been stalking for twenty minutes.
When these components degrade, knots fail and your fly presentation turns unnatural. Fish notice. They always notice. And instead of a tight line, you get that sinking feeling of spooking fish right as they were about to commit.
This guide covers exactly when to replace each component, the warning signs that something's wrong, and step-by-step instructions for swapping out old line, among others. Fresh terminal tackle is the easiest upgrade for consistent fishing success both for complete beginners and experienced angler, so let's get started.
When to Replace Your Fly Fishing Leader
As mentioned, replace your leader after every day or two of fishing. But understanding why these triggers matter will help you make better calls on the water. Let's begin by talking about your leader.

How a Tapered Leader Works (And Why Damage Matters)
Your tapered leader does one critical job: it transfers casting energy from your thick fly line down to your fly. The butt section is the thickest part (as it should be), usually around 0.022 inches in diameter for a standard 9-foot leader. From there, the leader gradually tapers thinner until you reach the tip section where you'll attach tippet or tie on a fly.
When knots form or the taper gets compromised, that energy transfer falls apart. Your casts lose accuracy. Your fly lands like a brick instead of a feather. And your fly presentation goes from "natural insect drifting downstream" to "obvious trap that will scare every fish in the pool."
If you're still getting comfortable with your casting technique, you'll probably find more knots in your leader at the end of a session. That's normal. The timing issues that cause tangles will smooth out with practice.
Signs Your Leader Needs Replacement Right Now
The question now is knowing when to replace your leader. In this case, run through this checklist:
- Two or more wind knots: Each knot reduces line strength by 40-50%. Two knots and you're fishing with half the breaking strength you paid for. That's how you lose fish.
- Leader length is 12+ inches shorter than original: If you started with a 9-foot leader and you're now at 7.5 feet, your taper is shot. The thicker portion of the leader is now doing the work of the thin tip section, and it's not built for that.
- Visible abrasion on the butt section: Nicks and rough spots on the thicker part of your leader mean the whole system is compromised. Nylon and monofilament don't heal.
- The line won't straighten: Stretch your leader between your hands. If coils and curls remain after a good stretch, the material has memory damage. It'll create drag on your fly and look unnatural underwater.
One more thing: if you're a beginner, your leader will degrade faster simply because you're working out the kinks in your casting stroke. Wind knots happen to everyone, but they easily get out of hand when you're still building muscle memory. Check your leader every few casts until smooth timing becomes second nature.

Next, we'll be talking about your tippet. If you're curious about the difference between leader and tippet and when each component comes into play, read our Tippet vs Leader guide first before you continue.
When to Replace Your Tippet
Replace your tippet every 2-4 hours of active fly fishing, or immediately when you spot any visible damage. That frequency surprises a lot of anglers, but tippet takes more abuse than any other part of your setup. It's the thinnest, most delicate section of your terminal tackle, and it's constantly getting dragged across rocks, chewed on by trout teeth, and weakened by repeated knot tying.
Think of it this way: your tippet section is doing the hardest job with the least material. A standard 5x tippet measures just a few thousandths of an inch in diameter. There's not much room for error.

When to Replace Your Tippet Immediately
There are situations that demand a fresh piece of tippet right now, not at the end of your session. Here are examples of times when this needs to happen.
- Any visible nick or abrasion: Run the tippet between your fingers. Feel anything rough? Cut it off and tie on new tippet. That tiny imperfection is exactly where the line will break when a good fish makes its first run.
- One or more wind knots: Tippet is less forgiving than leader material. A single knot compromises the whole section. Don't try to pick it out. Just replace it.
- Length gets too short: Keep at least 12 inches of tippet on your leader. Shorter than that and you're cutting into your leader's taper every time you change flies.
- After 8+ fly changes: Every time you tie on a new fly, you're using up tippet and creating a new knot. After a dozen patterns, that tippet has been through a lot.
- After landing several fish: Trout have teeth. Small teeth, but teeth nonetheless. If you've landed five or more fish on the same piece of tippet, inspect it carefully. Often you'll find abrasion right where the fish's mouth contacted the line.
Matching Tippet to Your Fishing Situation
Different tippet diameters match different target species and fly sizes. When you're chasing trout with dry flies in clear water, you'll typically want 5x tippet or 6x tippet for the most natural presentation. Heavier 4x or 3x works better for larger flies or when you need more muscle to pull fish out of heavy cover.
The finesse required for light tippet means you'll replace it more often. That's just part of the game. A spool of 5x costs around $5-8 and will last dozens of sessions. Compare that to losing the fish of a lifetime because you didn't want to take 30 seconds to tie on new tippet.

Bottom line? Stock your vest with nylon tippet material for dry fly work and fluorocarbon tippet for nymphing and spooky fish situations. Having both options means you're ready for whatever the water throws at you.
How to Replace a Fly Fishing Leader: Step-by-Step Process
Cut your worn leader at the fly line connection and attach a new tapered leader using a nail knot. The whole process takes about 2-3 minutes once you've done it a few times.
- Step 1: Remove the old leader completely. Cut it flush where it meets the fly line. Don't leave a stub of old material hanging around. That stub will catch on your rod guides and create a weak point in your new connection.
- Step 2: Position your nail knot tool. Lay the tool alongside the end of your fly line. Take the butt section of your new tapered leader and thread it through the tool so it runs parallel to the fly line. You want about 6-8 inches of leader material to work with.
- Step 3: Wrap and secure. Make 5-6 tight wraps around both the fly line and the nail knot tool, working back toward the end of the fly line. Keep the wraps snug and side by side, not overlapping. Slide the tool out while holding the wraps in place, then pull the tag end to tighten everything down.
- Step 4: Trim the tag ends. Cut both the leader tag and any excess fly line coating to about 1/8 inch. Some anglers add a drop of flexible cement for extra security, but a properly tied nail knot will hold without it.
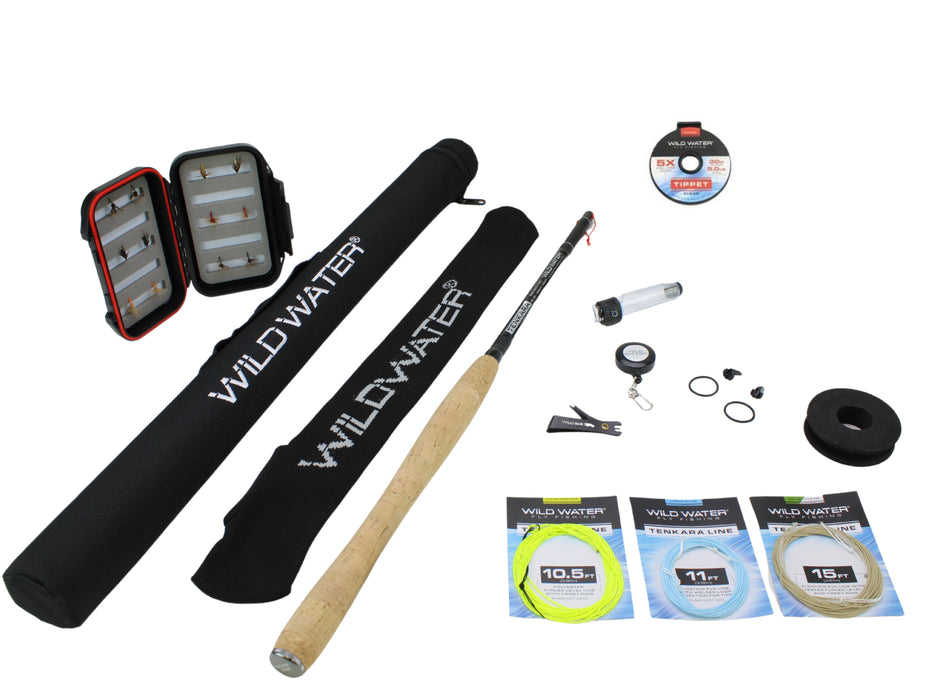
Every Wild Water kit includes a nail knot tool, so you've already got what you need. Check out our complete guide to fly fishing knots for detailed instructions with photos.
Need a new leader to practice on? Our tapered monofilament leaders come in 6-packs so you can tie a few nail knots at home before your next trip. And if you want to make the process even easier, grab a nail knot tool from our fly fishing tools collection.
How to Attach Tippet to Your Leader: Tying the Double Surgeon's Knot
The double surgeon's knot takes about 10 seconds, retains 95% of your line's breaking strength, and sits flat so it won't catch on your rod guides during casting. Here's how to do it:
- Step 1: Overlap the lines. Take the end of your leader and your tippet material and overlap them by about 6 inches. Pinch them together at the midpoint.
- Step 2: Form a loop and pass through twice. Create a simple loop with both strands together. Pass the tippet tag end and the entire length of tippet through that loop twice.
- Step 3: Wet and tighten. Wet the knot with saliva (yes, really, it matters for knot strength), then pull all four ends to tighten evenly.
- Step 4: Trim the tags. Cut both tag ends to about 1/8 inch.
The surgeon's knot works even when you're connecting different diameter materials, which is exactly what you're doing when you add thin tippet to a thicker leader. The double pass-through is what gives this knot its strength.
Some anglers prefer a blood knot for tippet-to-leader connections, especially when the diameters are similar. It's a cleaner knot but takes more practice. Others use a tippet ring, which is a tiny metal loop that stays on your leader permanently. You tie new tippet to the ring instead of the leader material, which saves leader length over time.
For more knot options and when to use each one, check out our fly fishing knots guide.
How to Tie Your Fly to Tippet: The Clinch Knot
Once you've got fresh tippet attached to your leader, you need to connect your fly. The clinch knot is the connection you'll tie most often on the water. This video walks you through the process step-by-step.
For detailed written instructions, check out our full guide on how to tie a clinch knot.
Fix This One Casting Habit to Save Your Terminal Tackle
Even after following the tips and practices below, you'll still need to replace your leader and tippet regularly. But you won't burn through materials as fast, and you'll spend more time fishing instead of re-rigging.
To do this, you MUST fix bad casting timing.
When you start your forward cast before the line fully straightens behind you, you create shock waves that travel down the leader. Those shock waves cause tangles, wind knots, and that frustrating pile of line that lands where your fly should be.
The fix is simple but takes practice: pause on your backcast. Wait until you feel the line load the rod before driving forward. Watch how your fly lands. If it's piling up or landing with slack, slow down your stroke. Our guide on casting with a fly rod covers the timing in detail.

Also, watch your rod tip when you're done fishing for the day. Don't reel your fly line into the guides. That junction where leader meets fly line will abrade against the tip-top guide and degrade faster than it should.
Storage and Material Tips to Extend Your Fly Fishing Leader and Tippet Life
Smart storage habits and knowing how the materials of your tippet and leader work will extend their life significantly.
First, it doesn't matter if you use nylon and monofilament, as both degrade with UV exposure. Heat accelerates the breakdown too. So, store your spare leaders out of direct sunlight, and don't leave rigged rods sitting in the back window of your truck all summer.
Before your first cast of the day, stretch your leader and tippet between your hands. This removes memory coils that cause drag on your fly and makes the whole system cast more smoothly.
Material choice affects durability too. Standard nylon is versatile and floats better for dry flies, making it a solid all-around choice for freshwater work. Fluorocarbon leaders resist abrasion better and are worth considering if you're fishing rocky structure or saltwater.
Even with perfect care, terminal tackle wears out. These habits reduce how often you need to replace gear, but they don't eliminate the need entirely. When in doubt, swap it out. For more troubleshooting tips, check out our guide to fixing common fly fishing problems.
Replacing Your Leader and Tippet FAQs
Can I replace just the tippet instead of the whole leader?
Yes, and you should. Adding tippet extends the life of your leader by 3-4x because you're only replacing the thin tip section instead of the entire tapered system. Most anglers replace leader and tippet separately. Swap the full leader only when the butt section shortens by 12 or more inches or when the taper gets compromised from too many tippet additions.
How often should I replace tippet during a day of fishing?
Every 2-4 hours of active fly fishing, or sooner if conditions demand it. After catching five or more fish, check your tippet carefully for abrasion. If you notice any nicks or knots, replace it immediately. Rocky water and toothy fish mean you should check more often.
Does Wild Water sell replacement leaders and tippet?
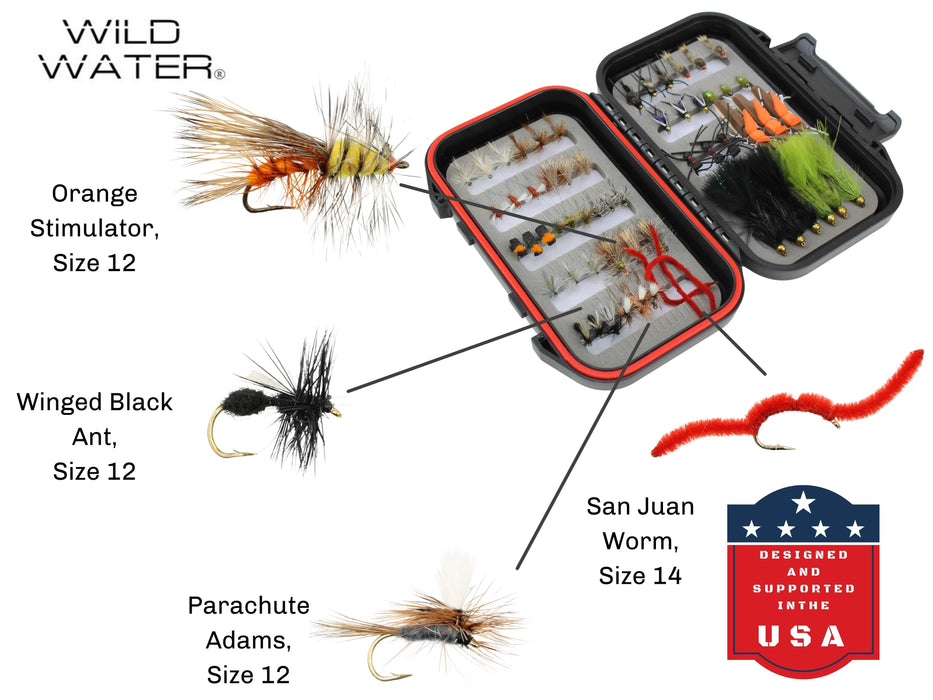
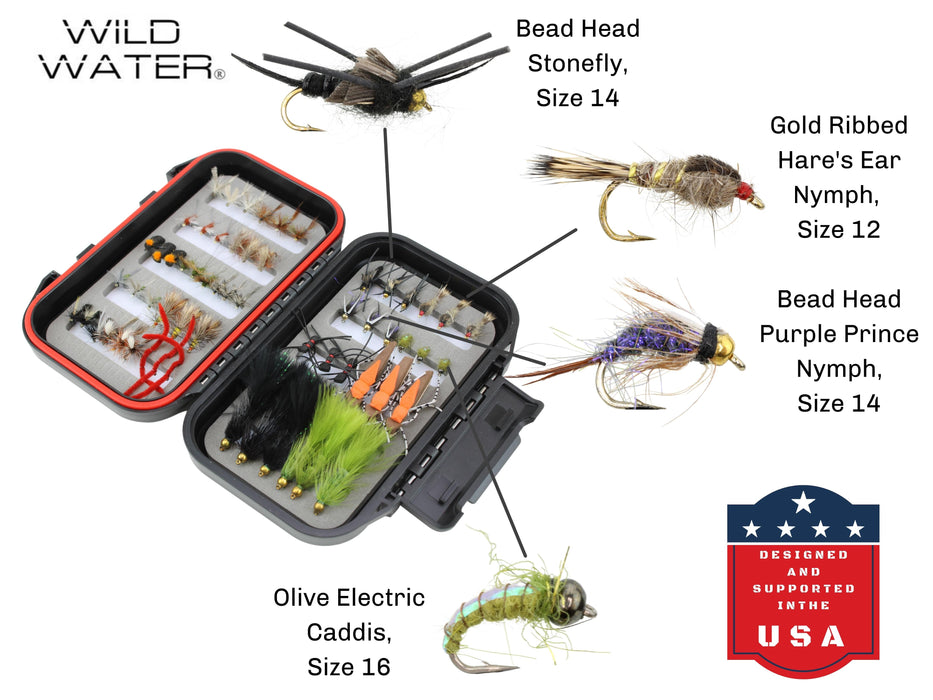
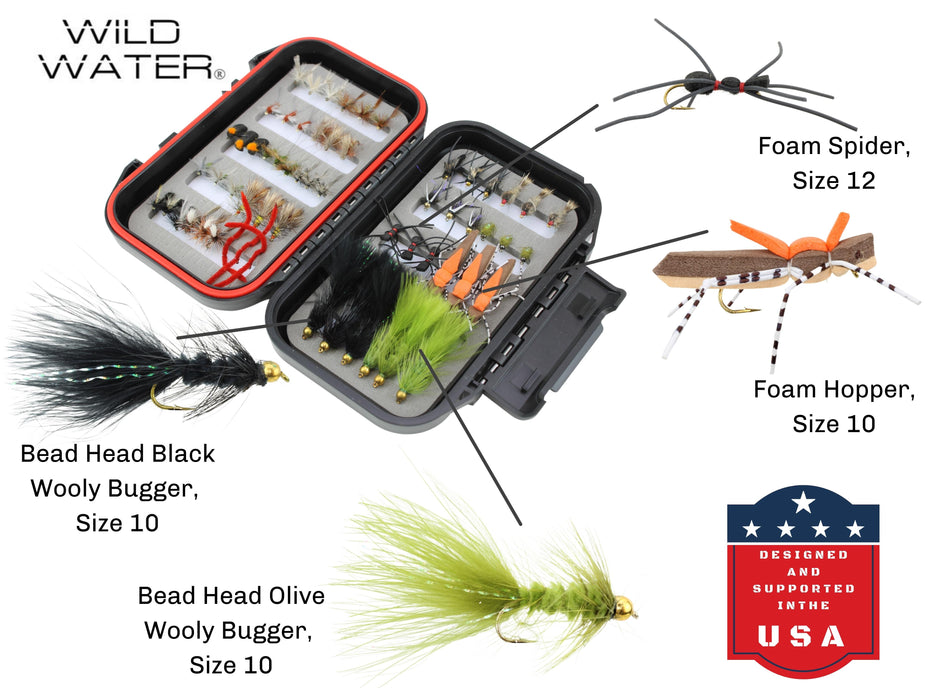
Yes. Wild Water offers 6-packs of tapered leaders in 7.5-foot, 9-foot, and 12-foot lengths, plus tippet spools in sizes 0X through 7X. Everything is tested with our beginner kits to make sure the components work together right out of the package.
What's the fastest way to replace a leader on the water?
Use a loop-to-loop connection if your fly line has a welded loop. Just thread the leader loop through the fly line loop, then pass the entire leader through its own loop and pull tight. If you want to use a permanent connection, the nail knot takes 2-3 minutes with practice. Our recommendation: carry a pre-rigged spare leader in your vest for quick swaps when fish are rising and time matters.
What to Do Before Your Next Fishing Trip
Now that you know the signs and the process, the next step is simple: check your gear before your next trip. Pull out your leader and run it through your fingers. Look for nicks, knots, or sections that feel rough. Do the same with any tippet you've got rigged up. If anything looks questionable, now is the time to replace it, not when you're streamside watching fish rise.
Build the habit of carrying backup materials in your vest or pack. Two spare leaders and three tippet sizes (one lighter and one heavier than your go-to) covers most situations you'll encounter. Toss in a nail knot tool and you're set for any on-the-water repairs.
If you've never tied a nail knot or surgeon's knot under pressure, practice at home first. Rig up a full leader and tippet setup on your fly line, cut it off, and do it again. Ten minutes of practice in your living room saves twenty minutes of fumbling when the evening hatch is popping off.
Stock up on tapered leaders and tippet material so you're ready for your next session.