Getting your fly rod assembled the right way takes less than two minutes once you know the process. But here's the thing: doing it wrong can actually break your rod before you even make your first cast. We see it happen more often than you'd think. This guide walks you through the proper assembly technique so you can get on the water quickly and keep your gear in one piece.
Watch: How to Assemble Your Fly Rod
Sometimes it's easier to see the process than read about it. This video from Wild Water president Eric Dodds shows you exactly how to put together a four-piece fly rod, attach the reel, and string up your line without putting any stress on the rod.
Now let's break down each step so you can reference them at the water.
Step 1: Find the Right Spot
Before you start, look around. You need enough clearance overhead and to your sides so the rod tip doesn't bump into anything while you're working. A parking lot, open field, or your backyard all work fine. Just stay away from low ceilings, tree branches, and car doors.
Step 2: Connect the Rod Sections (Bottom First)
Start with the bottom two sections of your rod. The ferrule is the joint where two rod sections connect. One end is slightly larger (the female end) and the other slides into it (the male end).
Here's what matters: push the sections together straight, not at an angle. Don't twist them. Just steady, straight pressure until they're fully seated.
Why does this matter so much? When ferrules aren't pushed together completely, the stress concentrates right at the edge of the joint. That stress can split the female end or crack the male section. It's one of the most common ways anglers break a rod, and it's completely avoidable.
Step 3: Connect the Top Two Sections
Now do the same thing with the top two sections. Push them straight together until they're snug.
By assembling the rod in two halves first, you keep everything manageable. You're not trying to handle a floppy 9-foot rod while connecting the final piece. This is especially helpful with longer rods where reaching the tip section while holding the butt can get awkward fast.
Step 4: Join the Two Halves
Connect your two assembled halves together. Same technique: straight on, no twisting, fully seated. As you do this, line up the guides (those small rings along the rod that your line runs through) so they're all facing the same direction.
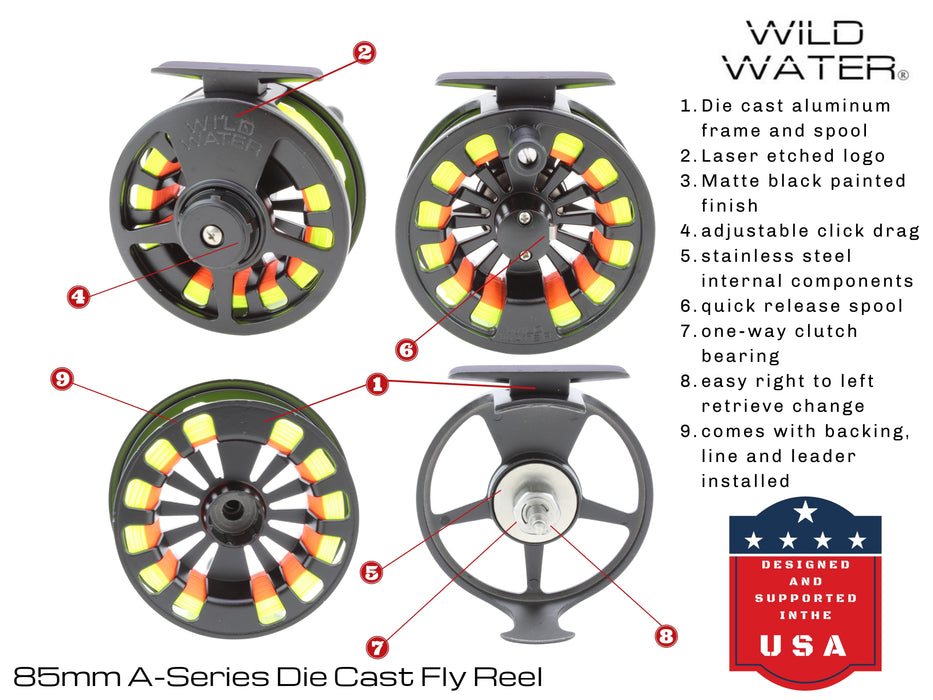
Step 5: Attach the Reel
Slide the front foot of the reel into the reel seat at the bottom of your rod handle. Most Wild Water rods use an up-locking reel seat, which means you'll slide the locking rings up toward the front of the rod to secure the reel in place. Tighten the rings until the reel feels solid and doesn't wobble.
Step 6: String Up the Line (The Right Way)
This is where a lot of new anglers run into trouble. The instinct is to grab the end of the leader (the thin, clear line attached to your fly line) and pull it through the guides from bottom to top. That works okay for the lower guides, but when you get to the tip section, you're putting a lot of stress on the most fragile part of the rod.
Here's the better method:
- Pull off about one and a half to two rod-lengths of fly line from the reel
- Fold the line over right where the fly line connects to the leader (you'll see a small knot there)
- Thread that folded loop up through each guide, one at a time
- Let the rod rest in your hands as you work. Don't push, pull, or bend it
- Once the knot clears the tip-top guide, pull enough line through so it won't slip back down
By threading the thicker fly line through the guides instead of the thin leader, you avoid catching that connection knot on the smaller tip guides. And by folding the line, you create a loop that's easy to grab and move from guide to guide without yanking on anything.
Common Mistakes to Avoid
Pulling line through by grabbing the tip. If you grip that thin tip section and pull to draw more line off the reel, you're asking for a break. The tip is the most fragile part of the rod, especially on lighter weight setups like 3-weights and 4-weights.
Forcing the leader knot through small guides. The knot connecting your fly line to your leader is bulkier than the guides on the upper rod sections. Trying to force it through can damage the guides or snap the tip.
Not fully seating your ferrules. We mentioned it already, but it's worth repeating. Give each connection a firm push and double-check before you start casting.
You're Ready to Fish
Once your line is through the tip guide with enough hanging out to keep it from sliding back, you're set. Tie on a fly, strip out some line, and start casting. The whole assembly process takes a couple minutes once you've done it a few times.
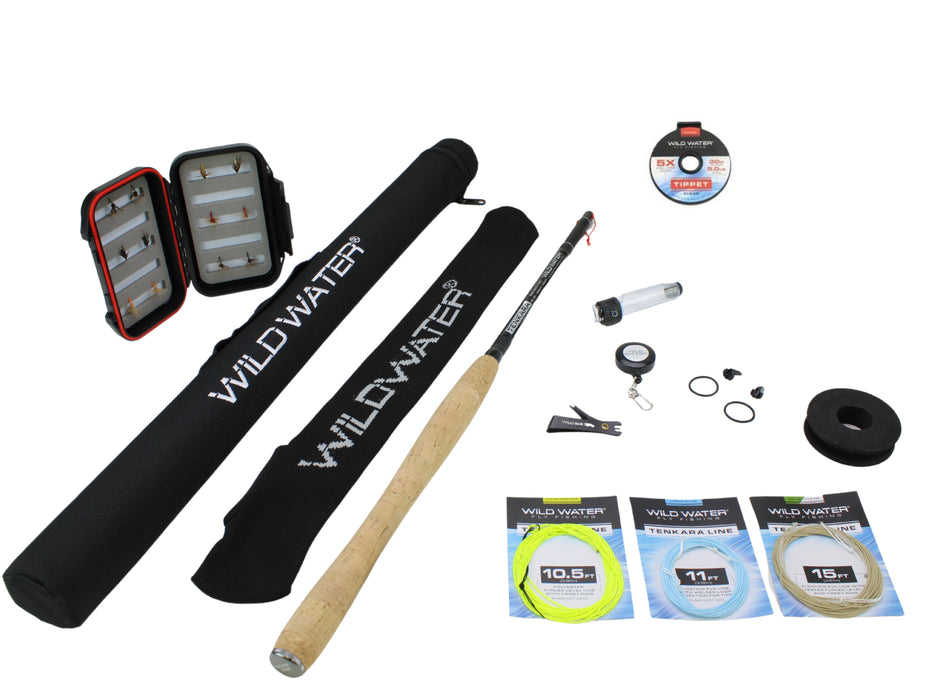
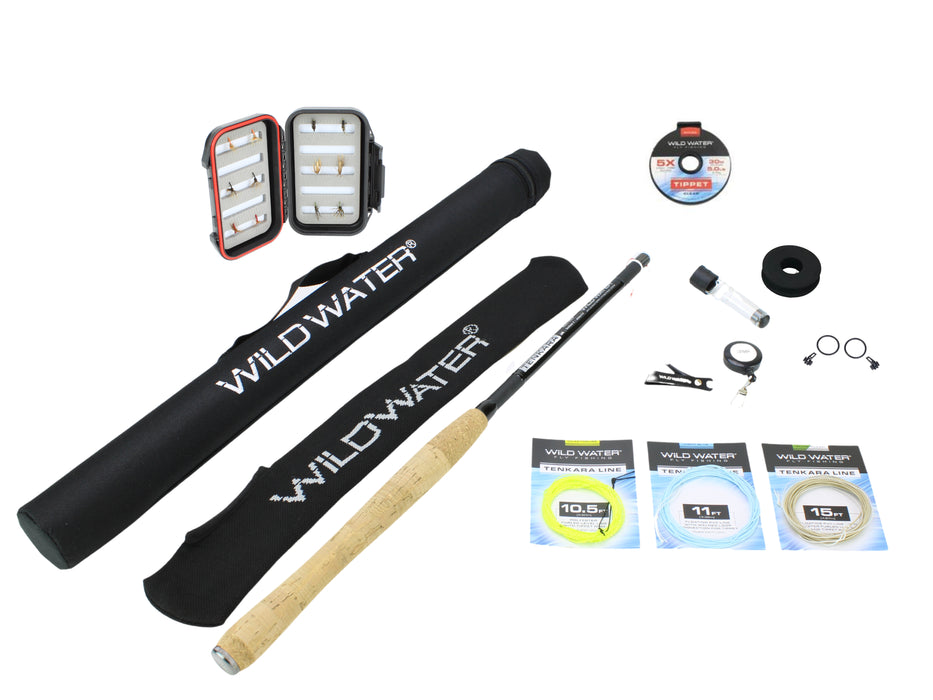
If you're still dialing in your setup or shopping for your first kit, our fly fishing starter packages come with everything matched and ready to go. Same assembly process, zero guesswork on what goes with what.
Related Guides:
- Attaching the Fly Reel to the Fly Rod
- Changing the Retrieve Direction of the Fly Reel
- Disassembly and Storage of Your Fly Fishing Outfit
Back to Complete Beginner's Guide