Staring at your new fly fishing kit and wondering which piece goes where? You're not alone. Every angler has been exactly where you are right now, including our founder when he first learned on the rivers of Nova Scotia. Here's the good news: attaching your reel takes 30 seconds, and by your third try, you could do it blindfolded.
This guide shows you exactly how to put your reel on your rod with clear steps and answers to every question beginners ask. Get this right, and everything else falls into place. Your rod will feel balanced, your gear stays secure during casting, and you'll be ready to make your first cast with confidence.
Prefer to see it in action? This short video shows the entire process from start to finish. Watch how the reel foot slides into the seat and how tight to make the locking hood.
Before You Start: What You Need to Know
Most beginners worry they'll break something or attach the reel wrong. You won't. These answers cover the basics so you can skip the confusion and get straight to fishing.
Do I need tools to attach a reel to my rod?
No tools required. Standard Wild Water reel seats tighten by hand. Snug the locking hood 1 to 2 full turns after it makes contact with the reel foot. Never over-tighten, as forcing it can crack the reel foot or strip the threads on the locking mechanism.
Are there different ways to attach a fly reel?
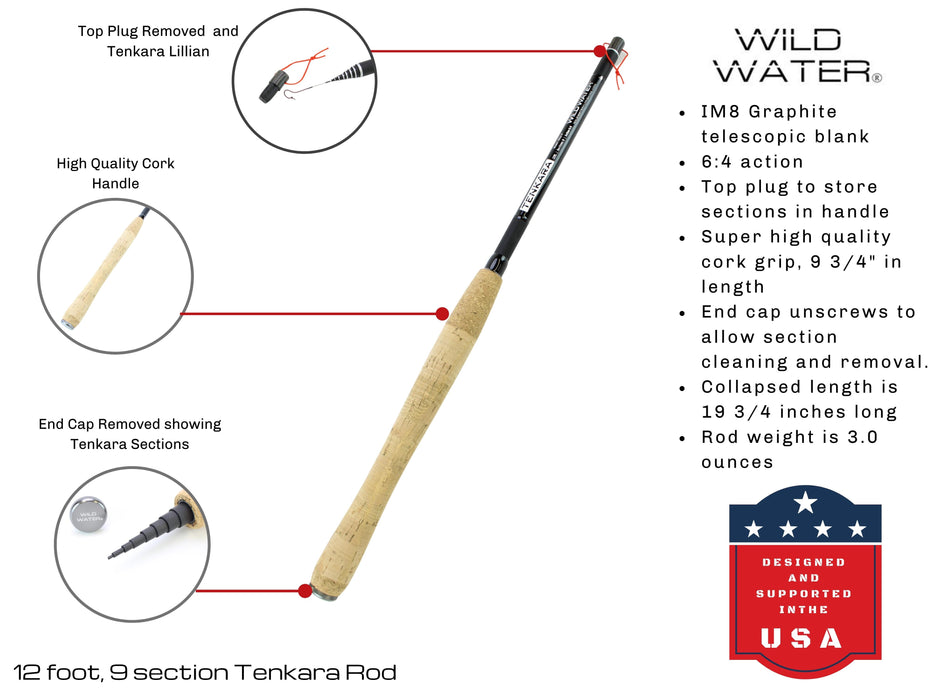
Yes, two main types exist. Most fly rods use either an uplocking reel seat (the locking hood tightens toward the grip) or a downlocking reel seat (the locking hood tightens toward the butt end). Wild Water rods use uplocking seats. The reel seat is that metal or wood section above the cork grip where the reel attaches. Learn more about the parts of a fly rod and how they work together.
Can I use any reel with any fishing rod?
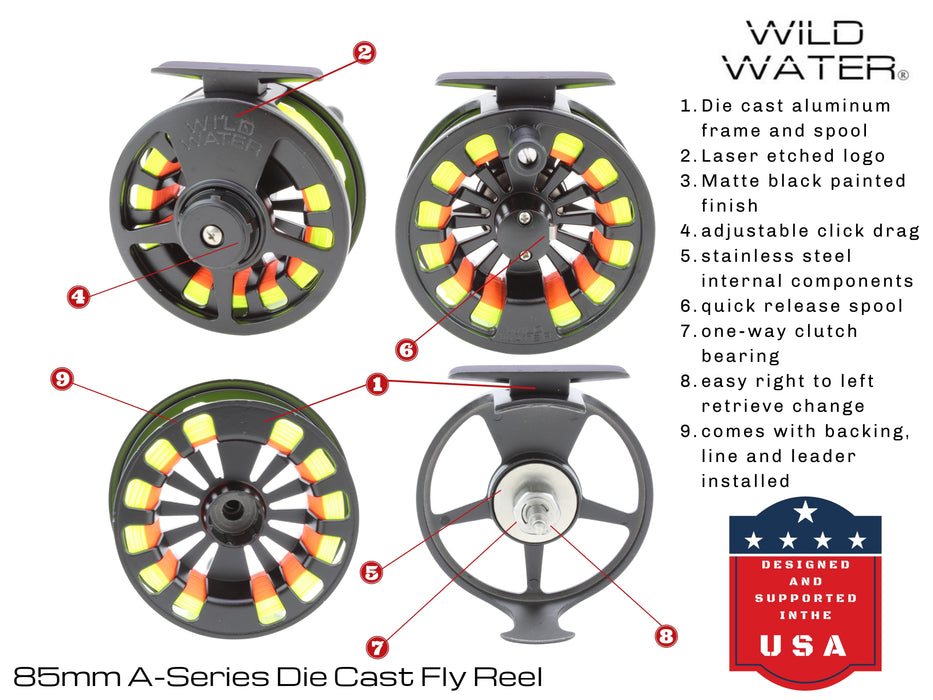
No. Fly reels only work with fly rods. Spinning reels and baitcasting reels won't fit. You also need to match line weights: a 5-weight rod needs a 5-weight reel and 5-weight fly line. Check your rod for the weight marking stamped near the handle. It'll say something like "5 WT" or "6 WT." Not sure which rod weight you need? Our guide on how to choose the perfect fly rod breaks down everything beginners need to know. All Wild Water kits come pre-matched, so if you bought a complete combo, you're already set. Every Wild Water rod comes with our lifetime warranty, no questions asked. Learn about different types of fly reels and their mechanisms to make informed choices.

Do all fishing rods come with reels?
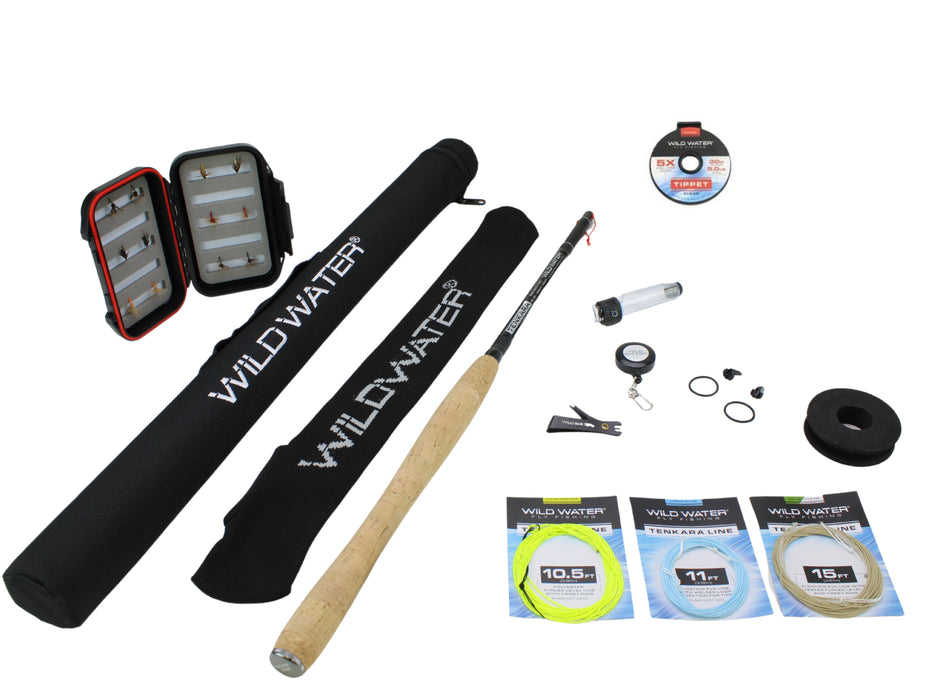
Most fly rods are sold separately. Beginners often get overwhelmed matching components. That's why over 50,000 anglers have started with Wild Water kits, where everything is matched and ready to go.
Step-by-Step: How to Put Your Reel on Your Rod
Follow these 5 simple steps and your reel will be locked in tight. No special skills needed; you just pay attention to how the parts fit together.
Step 1: Identify the Reel Seat and Reel Foot
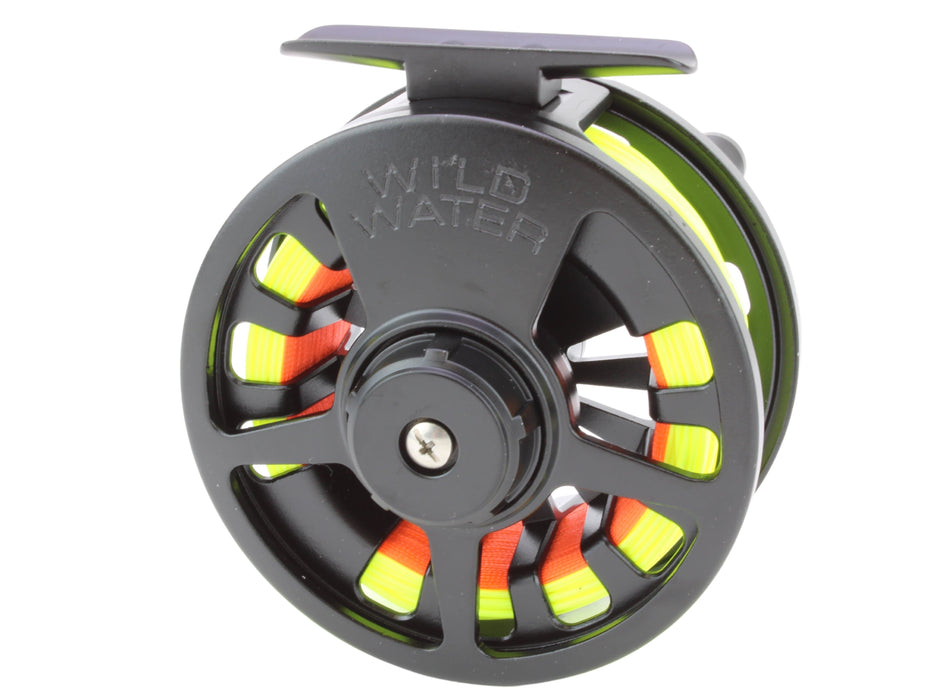
You need to identify two parts. First, the reel seat on your rod. It's that smooth metal or wood section sitting right above the cork grip. You can't miss it. You'll see two metal hoods (rings) that slide to lock the reel in place.
Second, the reel foot on your reel. It's the flat metal bar with two prongs extending from the bottom of the reel frame. Think of it like a key that fits into a lock. The reel foot slides into those grooves on the reel seat.
See? Nothing complicated. If you can identify two parts, you're already halfway done.
Step 2: Loosen the Locking Hood
Unscrew the locking hood by turning it counterclockwise. Remember: lefty loosey, righty tighty. Don't overthink it. Give it 2 to 3 full turns until there's space for the reel foot to slide in. The hood doesn't come off completely. It stays attached to the reel seat.
Can't get it to turn? Check that you're turning it the right direction. We've all been there, spinning the wrong way and wondering if we broke it already. Counterclockwise to loosen, clockwise to tighten.
Step 3: Position and Slide the Reel Foot Into the Reel Seat
Slide the reel foot into the reel seat, positioned for your casting hand. All Wild Water reels come set for left-hand retrieve. The handle sits on the left side of the rod. Cast with your right hand, reel with your left if you're right-handed, you're all set. Left-handed anglers can switch the retrieve direction in about 5 minutes.
Make sure both prongs sit flat inside the grooves. One prong goes in the fixed hood, the other in the loosened hood. The reel foot should rest completely flat with no gaps. You should feel a small "click" or snug fit when it's positioned right.
Step 4: Tighten the Locking Hood
Turn the locking hood clockwise to tighten it. You'll feel resistance when the hood makes contact with the reel foot. That's your cue.
Tighten 1 to 2 full turns after you feel that initial contact. Think of it like tightening a jar lid: snug, but not forced. Don't crank it down. You're securing the reel, not welding it to the rod. The right tension keeps it locked during casting while still allowing easy removal later.
Step 5: Test the Attachment
Gently wiggle the reel side to side. It should not move at all. Give the locking hood another quarter turn clockwise if it wobbles, then test again.
Try pulling the reel straight down away from the rod. A secure attachment won't budge. Test by giving it a firm shake. Zero movement means you're good to go.
Over-tightened? Back it off by a quarter turn if the hood won't turn anymore and you're forcing it. For seriously stuck hoods, see Troubleshooting below.
That's it. You just did what thousands of beginners worried they'd mess up. Easier than you expected, right?
After You Attach: Common Questions
Your reel is on, but now what? These are the questions beginners ask right after their first successful attachment and the answers that keep you moving forward.
How do I know if my rod and reel are balanced?
Your setup is balanced when it rests horizontally on one finger. To test: hold the rod at the grip with one finger under the cork handle. The rod should not tip forward (front-heavy) or backward (rear-heavy). The balance point should rest near your index finger when you grip for casting.
Think of your rod and reel like a seesaw. Add more backing to the spool if it's rear-heavy. Your reel might be too light if it's front-heavy. Balanced gear means less arm fatigue during those long days on the water. After 3 to 5 practice sessions, this will feel completely natural.
What if the handle is on the wrong side for my casting hand?
You can switch the retrieve direction in about 5 minutes. Our step-by-step retrieve direction guide walks you through flipping the internal mechanism so the handle moves to the other side.
Can I remove the reel once it's attached?
Yes, in under 10 seconds. Wild Water fly reels feature quick-release spools. Loosen the locking hood and slide the reel foot out. Remove it for airline travel (fits in carry-on), winter storage (prevents corrosion), or swapping reels between saltwater and freshwater setups. You might also switch to different line types like floating line for surface feeding, sinking line for deep pools, or intermediate line for shallow lakes. Looking to add more reels to your collection? Browse our complete selection of fly reels.
Do I need to set the drag before fishing?
Yes, but not until after you thread your fly line. The drag system controls how much resistance a fish feels when pulling line from the reel. To understand your reel better, check out the parts of a fly reel and what each component does. Adjust the drag knob on your reel after setup. We cover this in our complete rod setup guide.
Common Troubleshooting
Something not working right? Don't worry, as these problems are fixable in about 30 seconds. Here's how to get unstuck and back on track.
The reel foot won't slide into the reel seat
Check for dirt, sand, or debris in the reel seat grooves. Wipe clean with a cloth. Also verify you've loosened the locking hood enough. It should spin freely for 2 to 3 full turns.
The locking hood spins but won't tighten
The reel foot isn't seated correctly. Remove the reel and reinstall it, verifying both prongs sit completely flat (see Step 3). You should feel that small "click" when positioned correctly.
The reel wobbles after tightening
Give the hood another full turn clockwise. Still wobbling? Remove the reel and check for a bent reel foot. Inspect for cracks or warping. Contact us if you see damage.
I over-tightened and now the hood won't move
Wrap a cloth or rubber grip around the hood for better leverage. Turn counterclockwise with steady pressure. Don't jerk it. Won't budge at all? Place just the reel seat area in warm (not hot) water for 30 seconds to expand the metal slightly, then try again.
The reel handle hits my hand when I cast
Welcome to fly fishing. Your knuckles will eventually learn to dodge. This is normal at first. As you practice, you'll naturally adjust your grip. Rotate the reel slightly before tightening to position the handle away from your knuckles. Just verify the reel foot still sits flat afterward.
Next Steps: Getting Ready to Cast
You're ready to fish. Your reel is secure, your setup is balanced, and you're one step closer to making your first cast. There, you just completed the same first step your grandfather probably did with his first rod. Simple, but essential.
Don't worry if this felt awkward the first time. By your third try, you'll be able to do it with your eyes closed. Professional fly fishing guides recommend mastering this attachment process on dry land before your first trip. Learn it at home, and you'll be confident on the water.
What's next:
- Thread your fly line through the rod guides using our complete setup guide
- Learn basic casting to start catching fish with our beginner casting tutorial
- Change retrieve direction if needed with our step-by-step guide
Questions? Call our U.S.-based team at 585-967-3474. We're anglers too, and we're here to help you get on the water. That's the Wild Water promise: thoughtfully designed gear backed by real support from people who fish.
Thousands of families have started their fly fishing journeys with this exact setup. Now it's your turn to cast, teach your kids someday, and pass down the tradition.