Watch the Clinch Knot in Action
Reading knot instructions can only get you so far. Watch the video below to see exactly how the knot comes together, then practice a few times at home before your first trip.
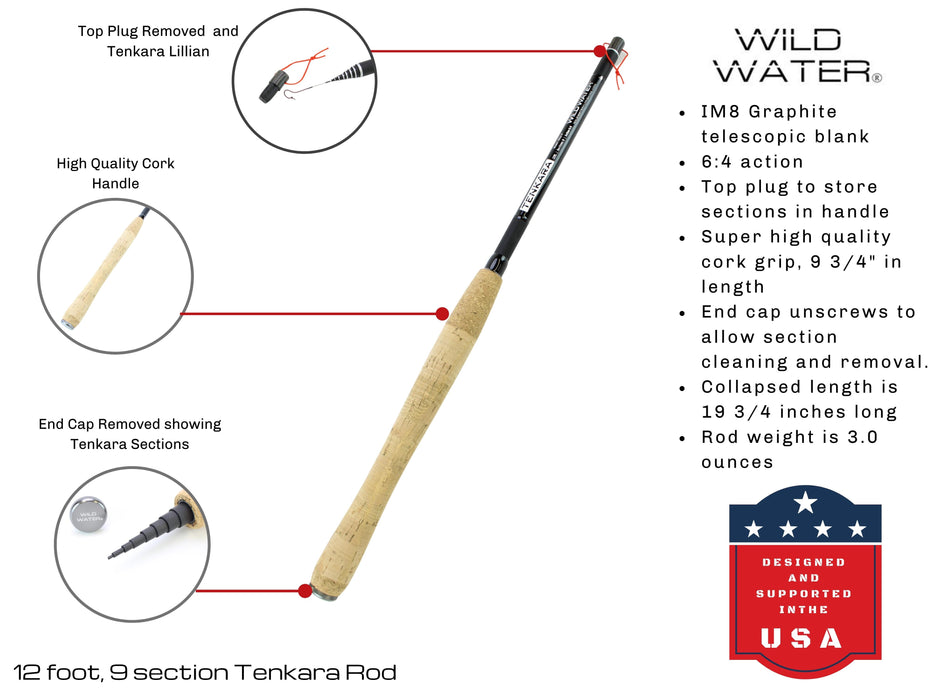
Step-by-Step Instructions

-
Thread the leader through the hook eye. Pass about 3-4 inches of line through the small metal ring at the front of the fly. This extra length makes the next steps much easier.
-
Hold the fly at the eye of the hook. Pinch the fly right where the line passes through. This keeps everything stable while you work.
-
Wrap the tag end around the leader 6 times. Take that loose 3-4 inches (called the "tag end") and wind it around the standing line. Count them out: one, two, three, four, five, six. Having that extra line length is what makes this step manageable.
-
Pass the tag end through the small loop at the hook eye. See that little opening right where your wraps started, next to the eye of the hook? Thread the tag end through there.
-
Pass the tag end through the bigger loop you just created. When you completed step 4, it formed another small circle. Take that tag end and pass it through this second loop too. (This is what makes it an "improved" clinch knot, and it's more secure than the basic version.)
-
Wet the knot, then tighten with all three points. Here's the technique: hold the standing line (upstream of the knot) with one hand, hold the fly with the other hand, and hold the tag end with your mouth. Wet the knot with saliva, then pull all three points at the same time. Go slowly and controlled. Don't yank on it.
-
Trim the tag end. Use the nippers from your kit to clip off the excess. Leave about 1/16 of an inch, just a tiny bit sticking out.
That's it. You're literally ready to fish. Cast it in the water and catch a fish. It's that easy.
Common Mistakes to Avoid
Not wetting the knot. This one matters more than you'd think. Dry monofilament creates friction heat when cinched down, which weakens the line.
Rushing the tightening. Pull slowly and evenly on all three points. Yanking creates uneven wraps and a weaker connection.
Cutting too close. Leave that tiny bit of tag end. Trimming flush to the knot can cause it to slip under pressure.
Not enough wraps. Six wraps is the standard. Fewer than that and the knot may not hold when a fish pulls hard.
When to Use the Clinch Knot
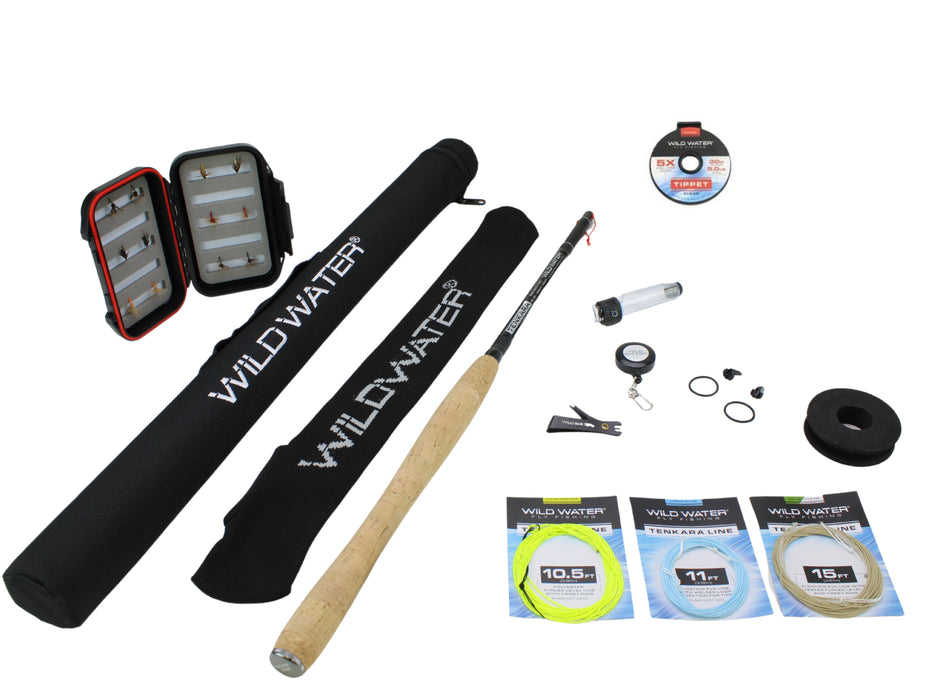
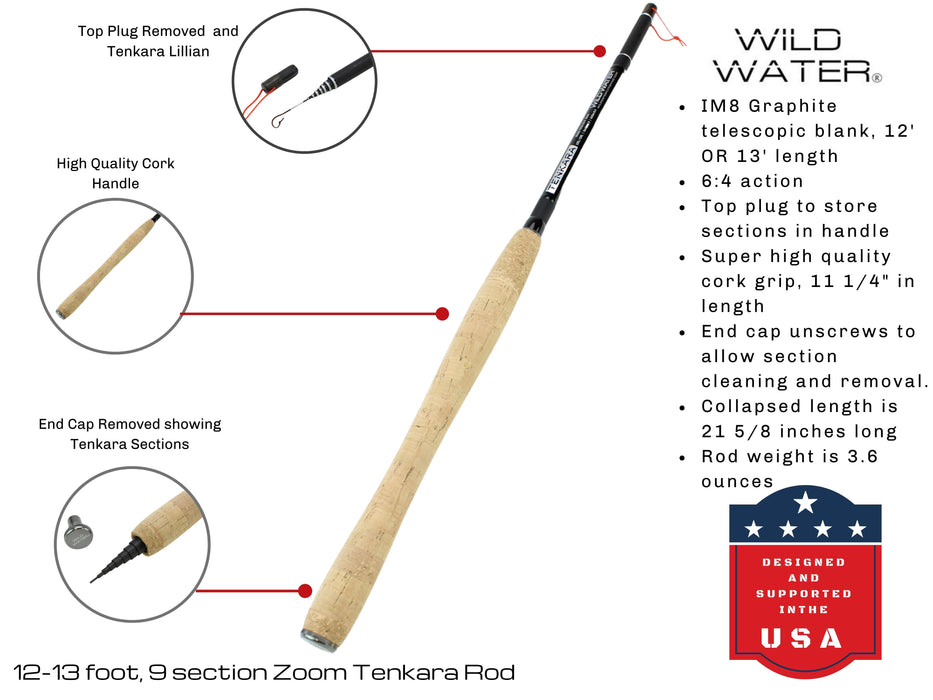
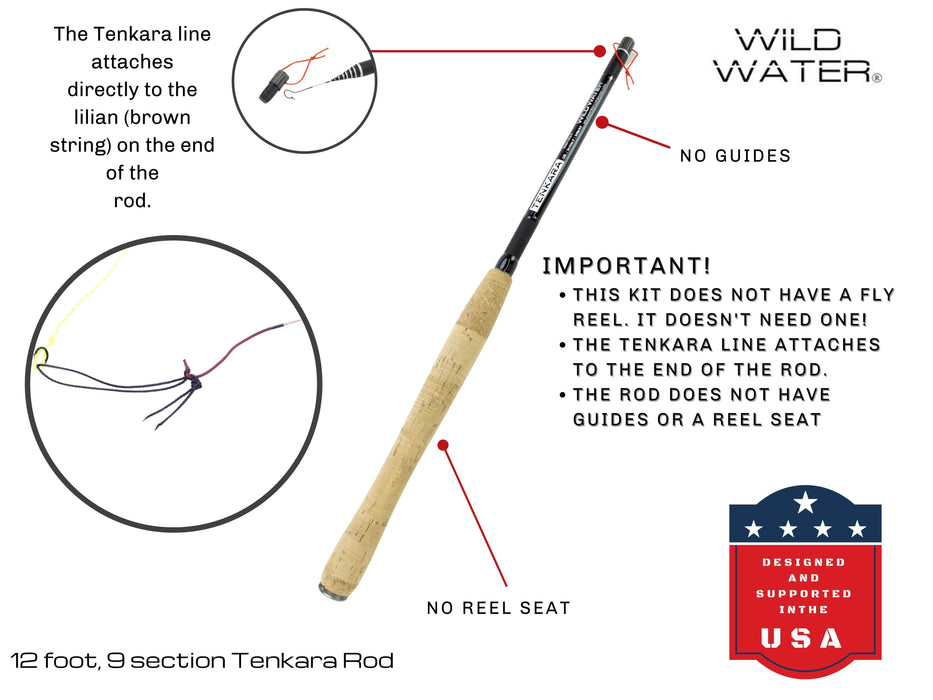
Use this knot anytime you're attaching a fly to your leader or tippet. It works for dry flies, nymphs, streamers, poppers, anything with a standard hook eye. The starter kits from Wild Water come ready to go, so you can tie a fly directly to the leader and start fishing right away. (Adding tippet is something you can learn later, but it's not required to get started.)
Once you've tied a few dozen clinch knots, it becomes muscle memory. You'll find yourself doing it automatically while scanning the water for rising fish.
Keep Learning
- Fly Fishing Knots Overview
- Replacing Your Leader and Tippet
- Complete Beginner's Guide to Fly Fishing
Questions? Call us at 585-967-3474 or email contact@wildwaterflyfishing.com