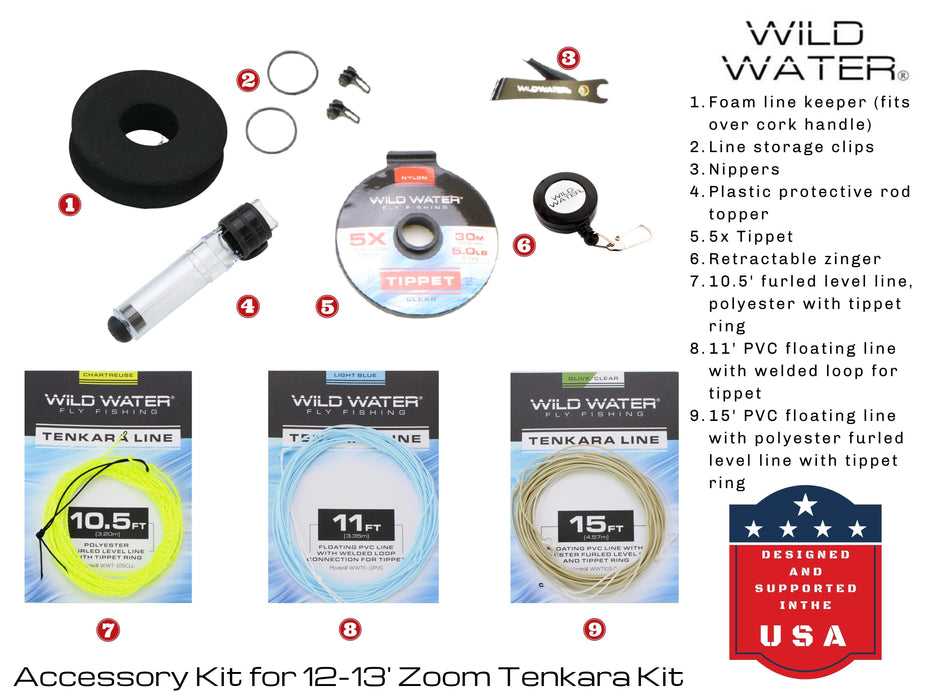
Here's something that surprises most beginners: you only need four knots to fly fish. That's it. Each one connects a different part of your setup, and once you've tied them a few times at home, they become second nature.
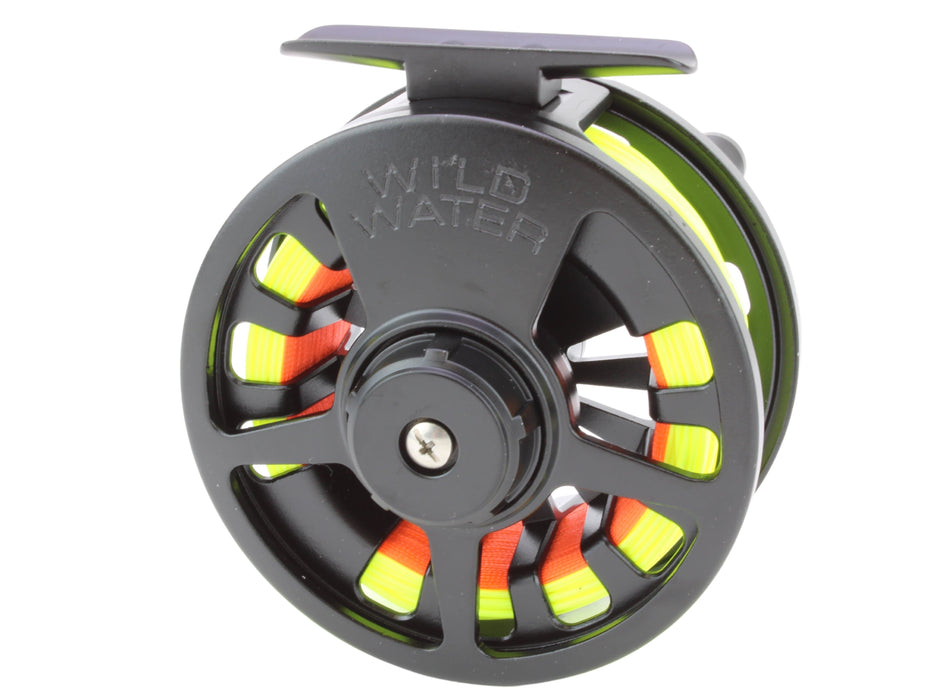
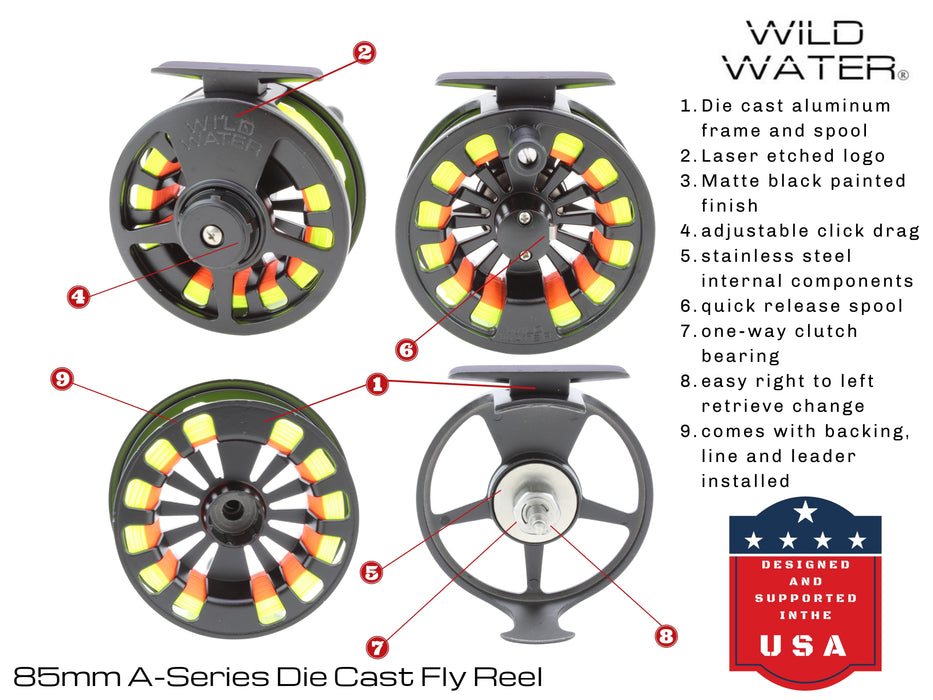
Even better news if you're starting with a Wild Water kit. We've already connected the backing to the reel, attached the fly line (the thick, weighted line that carries your cast) to the backing, and looped the leader onto the fly line. The only knot you need to tie on day one is attaching a fly to your leader. Seriously, that's it. You can be fishing in minutes.
But as you spend more time on the water, leaders wear out and tippet needs replacing. Eventually you'll re-spool your reel with fresh line. That's when knowing all four knots pays off.
The Only Knot You Need on Day One
The clinch knot connects your fly to your leader or tippet. You'll tie this one constantly (I'm talking a dozen times in a single outing when the fish are being picky about fly patterns). Master this knot first and you're ready to fish.
Learn How to Tie the Clinch Knot →
The 4 Essential Fly Fishing Knots
Here's how your fly fishing setup connects, from the reel outward to the fly:
Reel → Backing → Fly Line → Leader → Tippet → Fly
Each arrow represents a connection. Each connection needs a specific knot. Let's break them down.
1. Arbor Knot (Backing to Reel)
What it does: Attaches your backing (the thin braided line that fills your reel spool) to the reel itself.
When you'll tie it: Only when spooling a new reel or swapping out old backing. If you bought a Wild Water kit, we already tied this one for you.
Why it matters: Picture this: a big fish takes off running and pulls out all your fly line, then all your backing. This knot is the last thing holding everything together. It needs to grip tight against the arbor (that's the center spindle of the spool where the line wraps around).
2. Albright Knot (Fly Line to Backing)
What it does: Joins your fly line to your backing. This connects two very different materials: thick, coated fly line to thin braided backing.
When you'll tie it: When you're setting up a new reel or replacing worn fly line. Again, Wild Water kits come ready to go.
Why it matters: This knot needs to stay slim. When a fish makes a long run and your line screams off the reel, this connection passes through every guide on your rod. A bulky knot catches on guides, and that split-second snag can cost you the fish of a lifetime. (Ask me how I know.)
View the Albright Knot Diagram →
3. Nail Knot (Leader to Fly Line)
What it does: Attaches your leader (the tapered, nearly invisible line that connects to your fly line) to the tip of your fly line.
When you'll tie it: When you've worn through your leader and need a fresh one. Here's a shortcut though: most modern fly lines have a small welded loop at the end. You can use a loop-to-loop connection instead of tying a nail knot every time. Much faster on the water.
Why it matters: A clean nail knot creates a smooth transition that glides through your rod guides without catching. If you prefer a permanent connection over loop-to-loop, this is your knot.
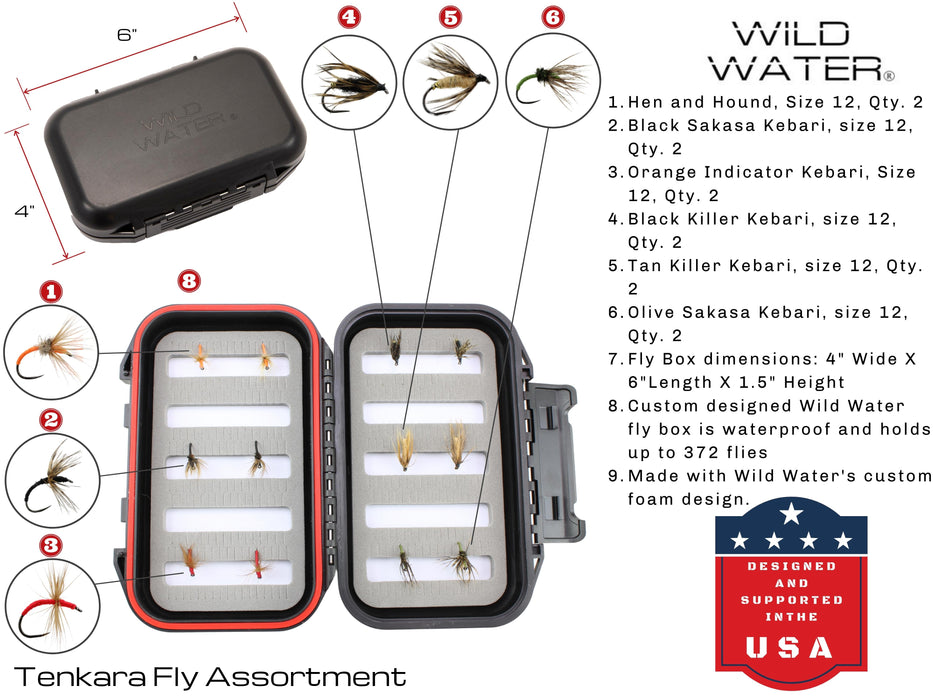
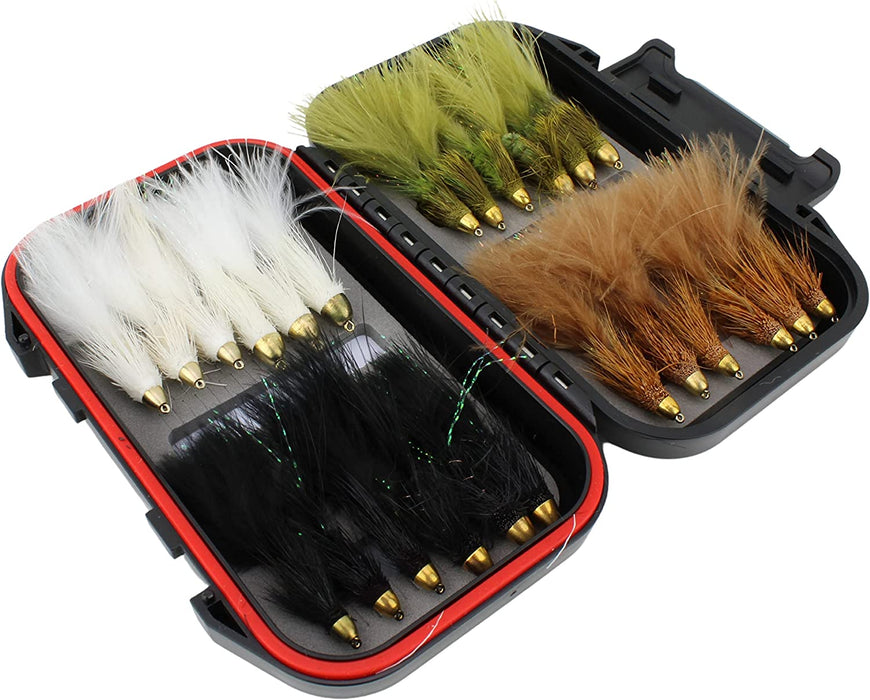
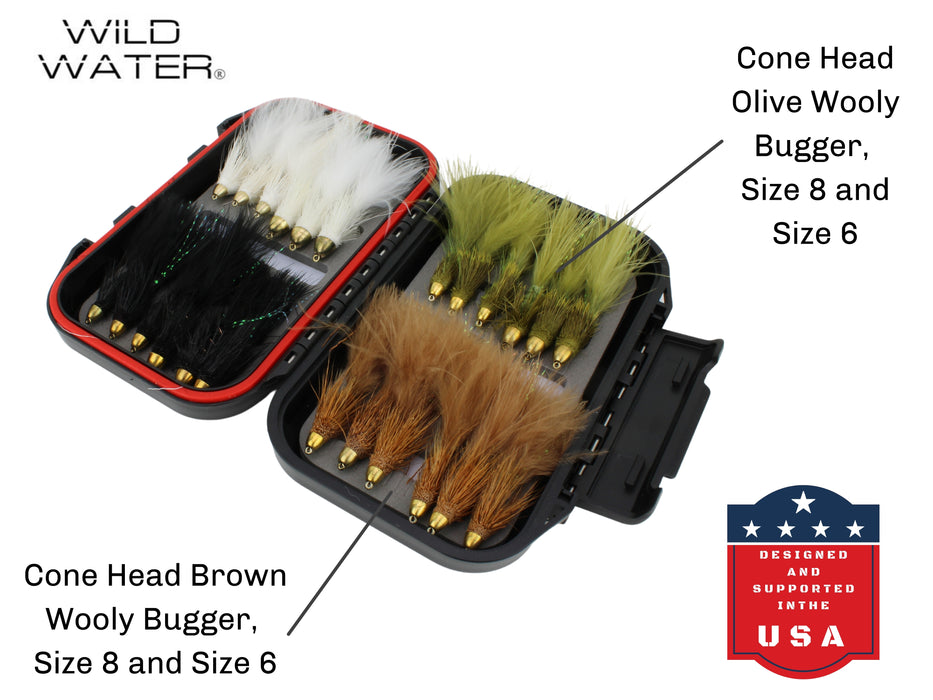
4. Clinch Knot (Fly to Leader/Tippet)
What it does: Attaches your fly to your leader or tippet (the very thin, final section of line before the fly).
When you'll tie it: Every. Single. Time. You change flies. This is the knot you'll use most, so get comfortable with it.
Why it matters: A sloppy clinch knot is the number one reason beginners lose fish. The knot slips, the fly pops off mid-fight, and that rainbow trout swims away with your favorite caddis still in its lip. Take the extra two seconds to wet the knot and tighten it properly. Your catch rate will thank you.
Learn How to Tie the Clinch Knot →
Quick Reference: Which Knot Goes Where
| Connection | Knot | How Often You'll Tie It |
|---|---|---|
| Backing to Reel | Arbor Knot | Rarely (pre-tied in kits) |
| Fly Line to Backing | Albright Knot | Rarely (pre-tied in kits) |
| Leader to Fly Line | Nail Knot or Loop-to-Loop | Occasionally |
| Fly to Leader/Tippet | Clinch Knot | Constantly |
Tips for Tying Better Knots
Wet the knot before you tighten it. Saliva works perfectly. Dry monofilament creates friction heat when you cinch it down, and that heat weakens the line. This is the most common mistake I see beginners make, and it's the easiest one to fix.
Pull slowly and evenly. No yanking. Smooth, controlled pressure lets the wraps seat properly against each other.
Test every single knot. Give it a firm tug before you cast. Finding a weak knot while you're standing on the bank beats finding it when a fish is pulling on the other end.
Practice at home first. Tie a few clinch knots at the kitchen table before your first trip. Cold fingers, fading light, and a fish rising 30 feet away make everything harder. Build muscle memory where it's easy, and you'll tie better knots when it counts.
Trim the tag end, but leave a little. The tag end is the short piece of line sticking out after you finish the knot. Clip it close (about 1/16 inch), but don't cut it flush. Trimming too tight can cause the knot to slip under pressure.
Keep Learning
- Replacing Your Leader and Tippet
- How to Set Up a Fly Fishing Outfit
- Complete Beginner's Guide to Fly Fishing
Questions? Call us at 585-967-3474 or email contact@wildwaterflyfishing.com